Sous Vide Pork Belly {Paleo, Gluten Free, Dairy Free, Grain Free, & Nut Free}

Posted on January 13, 2017

Over the holidays, my husband and I had some extra down time together.  As a couple, we share a passion for cooking, so we spent almost all of our time in the kitchen. Spending quality time together picking out recipes and cooking is almost as enjoyable as a long beach vacation. Just like any vacation, it is always great to explore and try new things, so our adventures in the kitchen are no different. For this exotic culinary adventure, we decided to tackle a protein that we love to order in restaurants, but have never had the courage (or time) to try at home. Pork belly. 

It was difficult for me to find recipes that were easy, and didn’t require fancy equipment I didn’t own. Luckily, this holiday season we became the proud new owners of an  The Anova is an easy, at home souse-vide machine, that uses a water bath to perfectly cook your food. It is idiot proof.  You can use the Anova for any type of food, but I mostly use it for proteins. I love that this truly is a “set and forget” tool, and the results are always succulent and flavorful. We couldn’t think of a more perfect way to try and cook this pork belly. 

The result was a perfectly tender and succulent dish, absolutely exploding with flavor.

Choosing your pork belly

While pork belly has become very popular in many hipster gastro-pubs lately, it isn’t a common cut of meat you find in most grocery stores. Pork belly is the same cut of meat that bacon comes from, so if your local butcher or meat counter provides thick cut bacon, they will probably have pork belly. It is a very fatty cut of meat, but this is what makes it so tender and flavorful. You will want to ask your butcher for skin on, center cut pork belly. 

Our butcher only had the pork belly in one-inch thick strips, but since we were cooking this in the sous-vide, that was fine. Getting this in thick strips, or a solid cut won’t make a difference to the cooking method. However, I would warn against going any thinner than the one-inch thickness.

Choosing your flavoring

Pork belly is a very rich meat, so we wanted ensure the marinade we used had something tangy to cut the richness. I was feeling a bit adventurous, and wanted to try something with an Asian flavoring. I also knew I needed some citrus and some heat to cut through the richness. My favorite Sweet and Tangy marinade would be perfect! This marinade does use maple syrup, so if you are doing a Whole 30, you may want to choose something else. However, for our purposes, it was exactly what we were looking for. 

Cooking your pork belly

Low and slow is the best advice for cooking pork belly. Roasting and braising will work, and I’ve seen some recipes call for pressure cookers. While pork belly can add amazing flavor to stews, I personally don’t like how much fat it adds. You can obviously strain this off, but that is a lot of work. I prefer the easiest method possible, so sous-vide is right up my alley. 

The first thing I did was set up the Anova at 158 degress. Next, I mixed up the marinade. Unfortunately, I had recently done a full pantry clean-out of any herb or spice beyond its expiration date. This meant I was completely without red pepper flakes. My brilliant husband proposed using paprika (which we have 3 bottles of), and it worked like a charm. Once the marinade is done, I placed the pork belly in to a plastic bag, and poured the marinade over it. Make sure the marinade covers all surfaces of the pork, so really mix it around in the bag. We don’t have a vacuum sealer, so we use the water immersion technique to seal our bags. Once the water reached the required temperature, we placed the bag of pork belly in the water and let it cook for 8 hours.

Finishing the pork belly

While the sous-vide is great at cooking and sealing in flavor, most food needs to be “finished” afterwards. We wanted a really crispy caramelized finish on the pork belly to balance how creamy the fatty layers were. Since achieving this texture does require additional cooking, we needed to let the meat cool down before searing it. Remember, the sous-vide already cooked this meat to perfection, so if we put it directly into a hot pan, it could dry out and over cook. We let it cool in the fridge for about 20 minutes, and used that time to prep our veggies and sides.
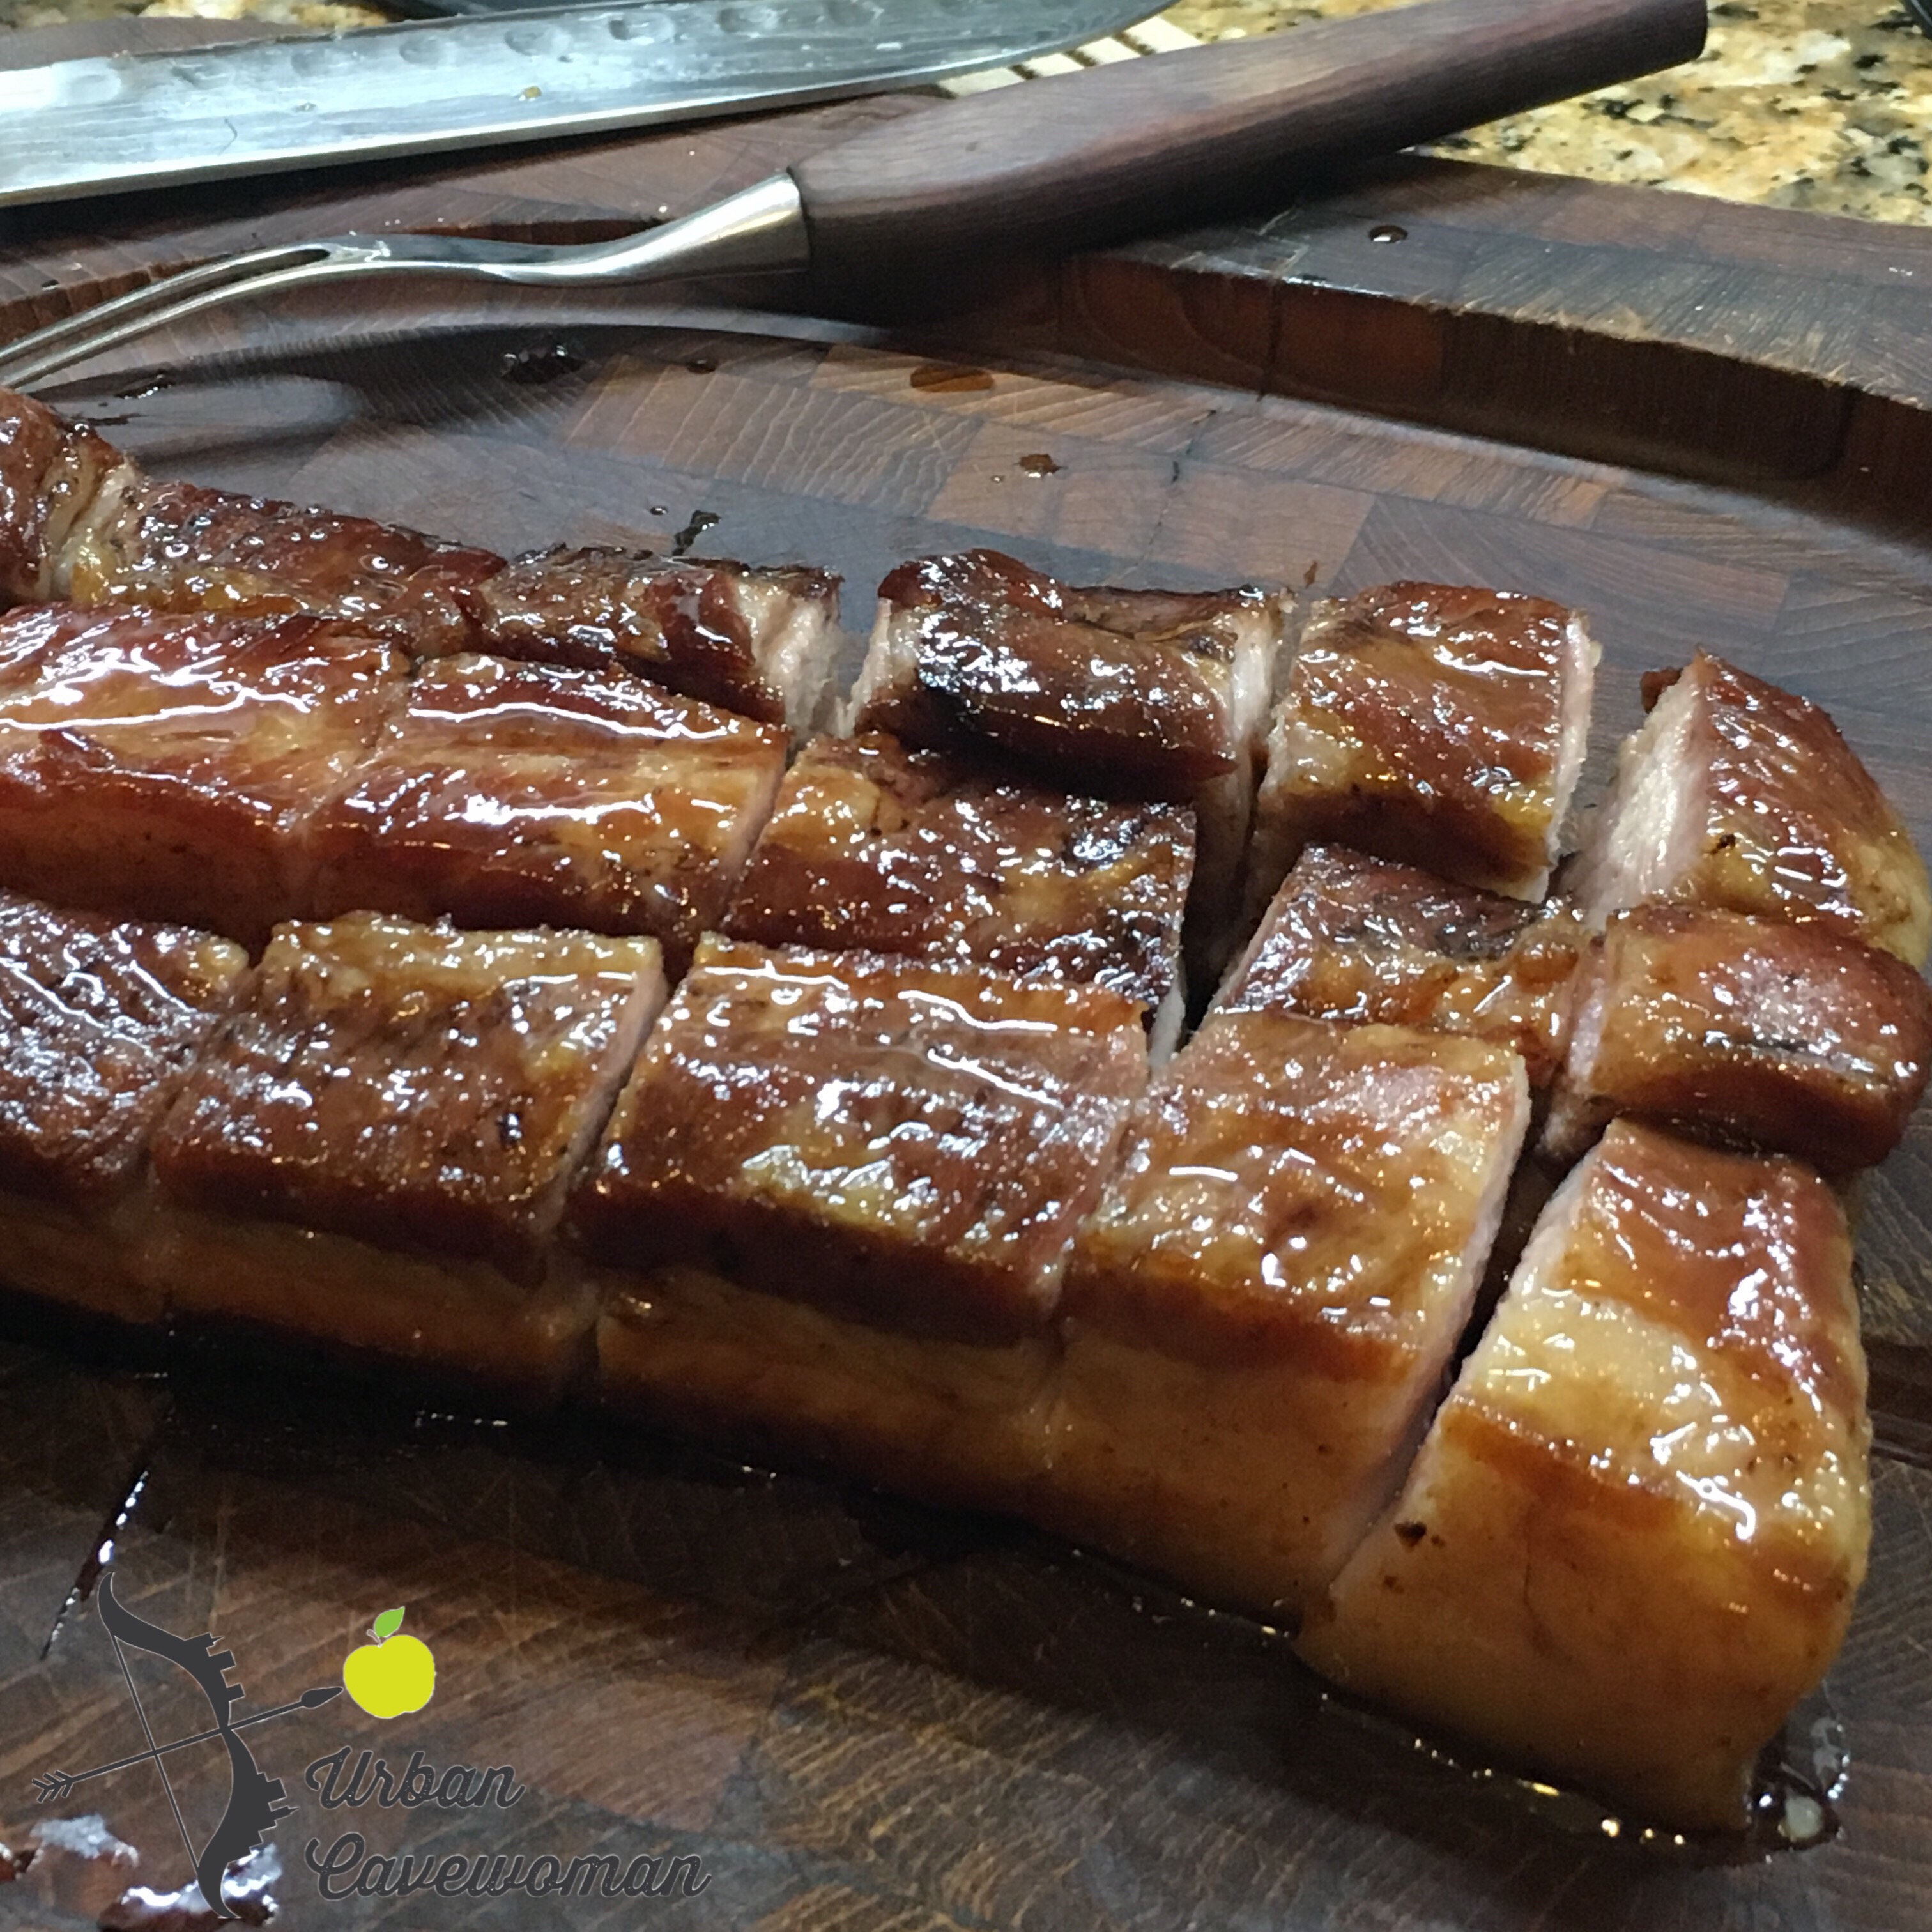
Once the meat was cooled, we got a cast iron skillet very hot, and placed the pork belly in the hot pan, skin side down. The bag will still have a lot of great marinade and juices in there – save this! When the pork belly is in the pan, you need to apply a fair amount of weight to it to get that really great crispy outer layer. A bacon press could work, but we don’t have one. My husband McGuyvered a makeshift bacon press by covering the bottom of one of our cast iron pots in tinfoil. It worked like a charm! We let the pork sear on the skin side like this for about 5 minutes, then flipped it and repeated. For the sides of the meat, we didn’t use our make shift press, but just lightly seared those for about 2 minutes each side.

Remove from heat and set on a cutting board when the belly is nicely caramelized on top and bottom, with nice cook on the sides. At this point, deglaze your pan with the remaining juices from the bag. Let the liquid simmer over medium, and use a wooden spoon to scrape up all the flavorful bits. You can add additional broth if you need to. Remove the pan from heat, and strain the liquid into a gravy boat or bowl. 

Serving suggestions and finished product

 
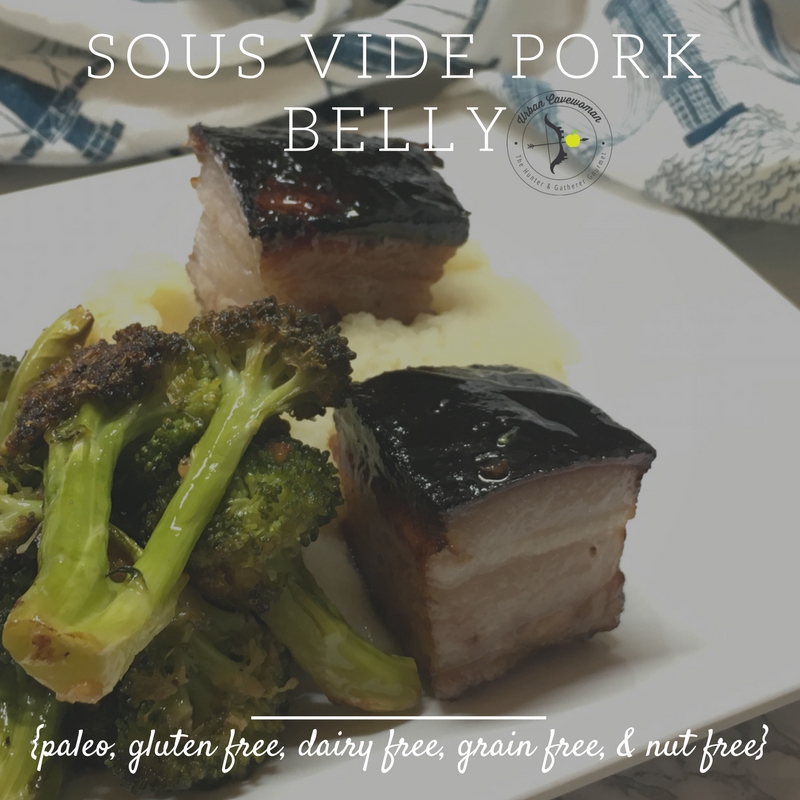
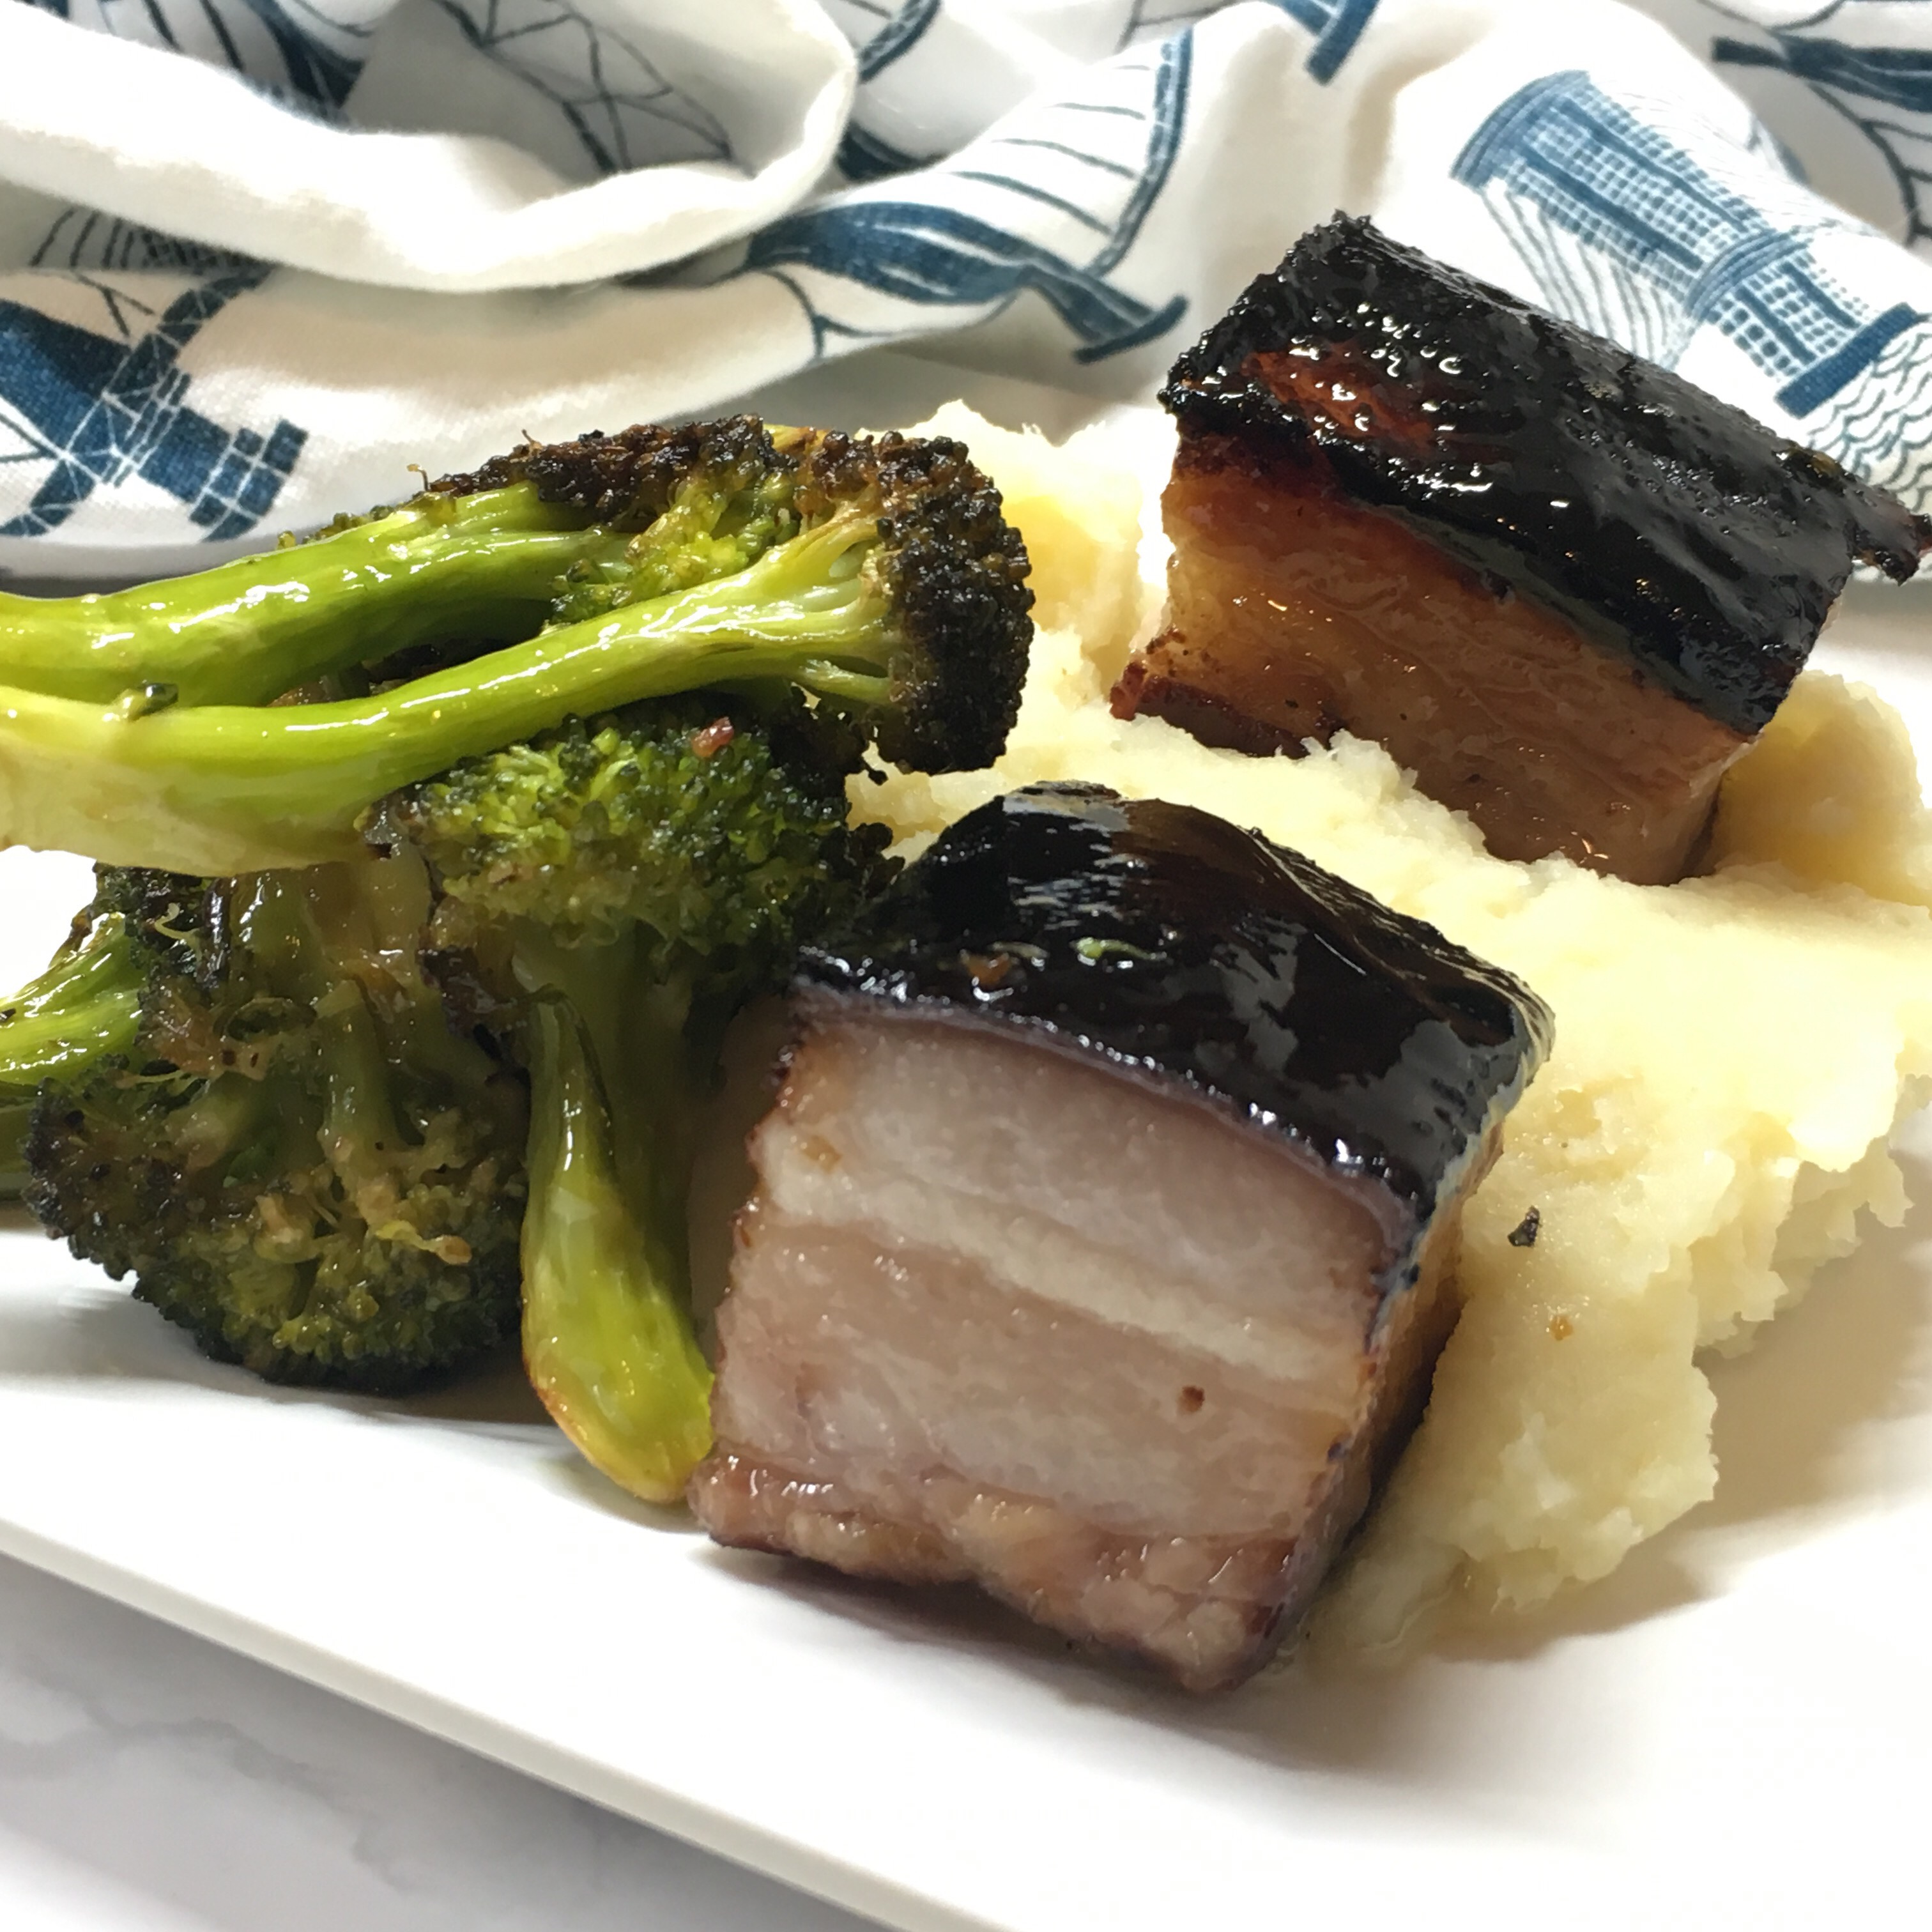
The beauty of a well cooked pork belly are the layers of meat, fat, and skin. We wanted our meal to not only taste delicious, but to be visually appealing, so we decided to slice our pork belly into 1 inch x in inch pieces. Pork belly is pretty heavy, given how fatty and rich it is. As a result, we didn’t really want to pair it with anything else that was heavy. Instead of baking our standard sweet potato, we opted for a light and fluffy cauliflower and parsnip puree. This had the added benefit of visually being very appealing next to the pork belly. For added color and nutrients, we roasted up some broccoli with olive oil a garlic. We served it with the glaze from the pan drizzled on top, and thought we had died and gone to heaven.

Sous Vide Pork Belly {Paleo, Gluten Free, Dairy Free, Grain Free, & Nut Free}

Sous Vide Pork Belly {Paleo, Gluten Free, Dairy  Free, Grain Free, & Nut Free}

Ingredients

  • 2 lbs. pork belly
  • 1/3 cup fish sauce
  • 1 tsp minced garlic (or one large clove minced)
  • 1/2 tsp paprika
  • 3 tbsp maple syrup
  • Juice from 1/2 lime
  • 1/2 cup kosher salt

Instructions

    For the Marinade:
  1. Combine fish sauce, garlic, paprika, maple syrup and lime juice together.
  2. For the Pork Belly:
  3. Set your Anova Precision Cooker to 158 degrees Fahrenheit.
  4. While the water is heating, take out your pork belly. Using the kosher salt, exfoliate the outer layer of pork belly, focusing on the skin side. Use the salt as an abrasive to clean up any remaining debris or film that is on the meat. Rinse the salt off thoroughly under cool water, and pat dry with a paper towel.
  5. Place the pork belly in a large Ziploc or vacuum seal bag, and pour the marinade over it. Make sure that the marinade completely coats all sides of the pork. Seal bag either using a vacuum sealer, or the water immersion technique (once water has reached 158 degrees).
  6. Place bag with pork in the water bath when it has reached 158 degrees. Set timer to cook the pork for 8 hours.
  7. When pork is done, remove from heat and let cool in the fridge. Pork can cool for 20 minutes, up to a full day.
  8. Once pork has cooled, heat a cast iron skillet over high heat. When pan is very hot, remove pork from bag, reserving the juices. Place pork (skin side down) in the pan. Weigh the pork down with a bacon press, or pan/ pot wrapped in tin foil. Sear for 5 minutes (until skin is nicely caramelized and crispy). Flip and repeat on the belly side.
  9. Lightly sear the sides of the pork for 2 minutes on each side, and then remove from pan and set aside on a cutting board. Reduce heat to medium, and add the reserved juices to the pan. Use a wooden spoon to scrape up the flavorful bits from the bottom of the pan. Let the liquid come to a full simmer, and reduce heat to low for an other 2 minutes. Strain liquid into gravy boat or bowl.
  10. Slice the cooked pork belly into 1 inch pieces, serve hot and dressed with the pan sauce.

Notes

You can sous-vide the pork up to a day ahead of when you plan to serve it. Simply remove from water after 8 hours, and chill in fridge until ready to proceed. If you do not have enough liquid for the sauce, you can add broth if needed. We had under a cup of liquid total, but that was more than enough for the dish. This is best paired with a light and fluffy cauliflower and parsnip puree.
Schema/Recipe SEO Data Markup by Yummly Rich Recipes
https://www.urbancavewoman.com/recipes/entrees/sous-vide-pork-belly/

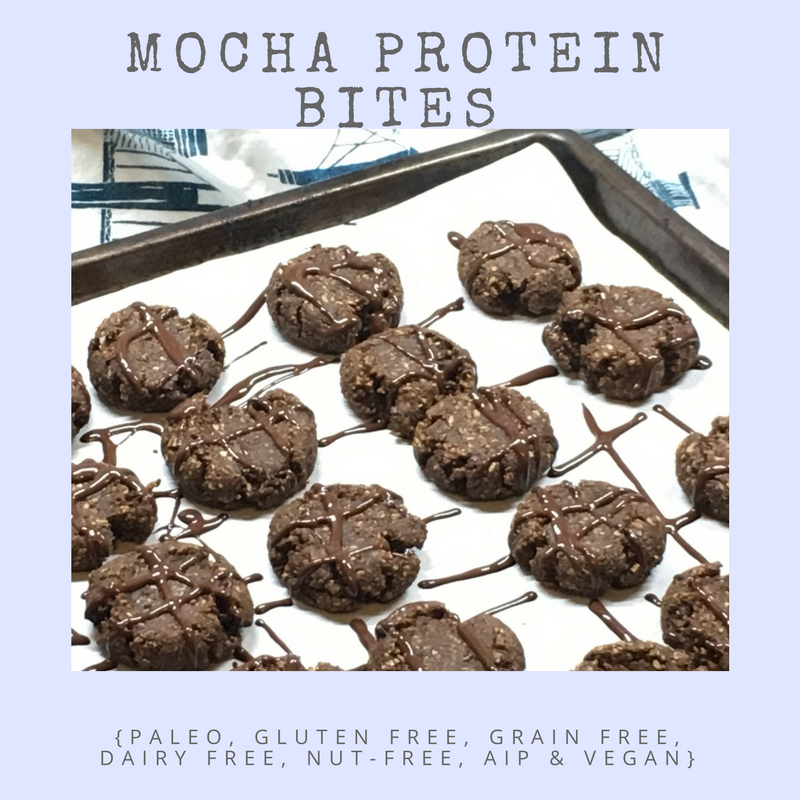
Mocha Protein Bites {Paleo, Gluten Free, Nut Free, Grain Free, AIP, Dairy Free & Vegan}

Posted on January 4, 2017

January is notoriously the month of healthy eating. Many of us are starting out on a cleanse, testing out a new diet plan, or joining a new gym. For me, the new year is a time to re-boot, but not a time of deprivation. If I am going to be healthy, and find balance, that has to include a few treats or I will fail. One of the things I’ve found very helpful, is cooking healthy “cheats” to keep on hand.

Normally, I will cook a batch of Plantain Brownies to cut up and freeze in individual “bites”. However, I am trying to reduce my egg intake these days, so wanted to try out something different. When a post came up in my Facebook feed claiming “The World’s Easiest Cookies Just Happen to Be Paleo, Vegan, and Gluten Free” – well I had to try them!

The original recipe calls for Almond flour, so I knew I’d need to do a bit a of tweaking. My first attempt followed the original recipe exactly, but substituted in Pumpkin Seed Meal for the Almond flour. The cookies were okay, but pumpkin seeds have a bit more of a bitter edge than Almonds, and the texture was a bit drier and more crumbly than I would have liked. I also really wanted chocolate. To me, it isn’t really worth “cheating” unless it is for chocolate. After a few experiements and changes, I came up with a really satisfying and healthy treat to help me stay on track.

Healthy Cookie?

Yes, a healthy cookie is a bit of an oxymoron. These really are a “healthier” cookie, as opposed to a healthy treat. However, keeping some chocolate on hand that isn’t as bad as other things can help satiate your cravings, without completely “falling off the wagon”. Even though these shouldn’t become a constant part of a diet or weight loss plan, there are some good benefits in these little cookies.

Pumpkin seeds are really an amazing food source.  Like most nuts and seeds, pumpkin seeds are high in Magnesium, Zinc and Omega-3’s. Magnesium is an important mineral for building bone strength, lowering blood pressure, increasing cardiac health, and a host of other functions. Zinc is most commonly known for it’s ability to boost your immune system, but it has also been found helpful in combating chronic fatigue and depression.

There are some unique benefits that pumpkin seeds a great item to integrate into your diet. First, they contain a small amount of Tryptophan, and may help with sleep. Second, Pumpkin seeds have also been shown to have an anti-inflammatory effect.  Finally, numerous studies are indicating there are a myriad of other benefits we are only just learning about. For example, there are indicators that pumpkin seeds can promote better prostate heath, prevent diabetes, and ease menopause symptoms. So maybe these cookies ARE healthy after all?

The Ingredients

Besides the Pumpkin Seed Flour, most of the ingredients are items you probably already have in your pantry! I like to use a good unsweetened cocoa powder, whatever coffee is on hand, and Maple Syrup we bought (in bulk) from a farmers market a few months back. A few of the ingredients (baking powder and vanilla extract) are not always paleo, so if you want to learn how to make your own versions, check out the Paleo Plan website.

Choosing the right Pumpkin Seed Flour can be difficult, as there aren’t many options out there. I’ve previously used Gerbs Allergen Free Pumpkin Seed Meal, and loved it. However, I decided to try a similar product made by Sincerely Nuts that was almost half the price. These two flours are not made equal. Gerbs has a fantastic texture (similar to Almond Flour), whereas the Sincerely Nuts product is very flaky and looks a bit like sawdust. In order to used the Sincerely Nuts flour, I had to run the batter through a blender to get it to bind. Luckily, the taste was perfect, so I really didn’t mind the extra step, to save me the extra money.

The final ingredient is the most important (in my opinion). I used about 30z of dark, unsweetened chocolate to drizzle over the final product. Using a really good and flavorful chocolate for the drizzle makes a huge impact. Since it is only a small amount per cookie, I like to use a really good one. For this batch, I used some amazing orange infused dark chocolate, and it was amazing.

What to Do

These cookies couldn’t be easier to make. I literally threw all of the ingredients (except the chocolate) in a blender, and mixed until smooth. Seriously, how easy is that? Once the dough was done, I lined a cookie sheet with parchment paper, and rolled out the dough into small balls. These are meant to be small “bites” so keep them at about 1/2″ in diameter when you roll them out.

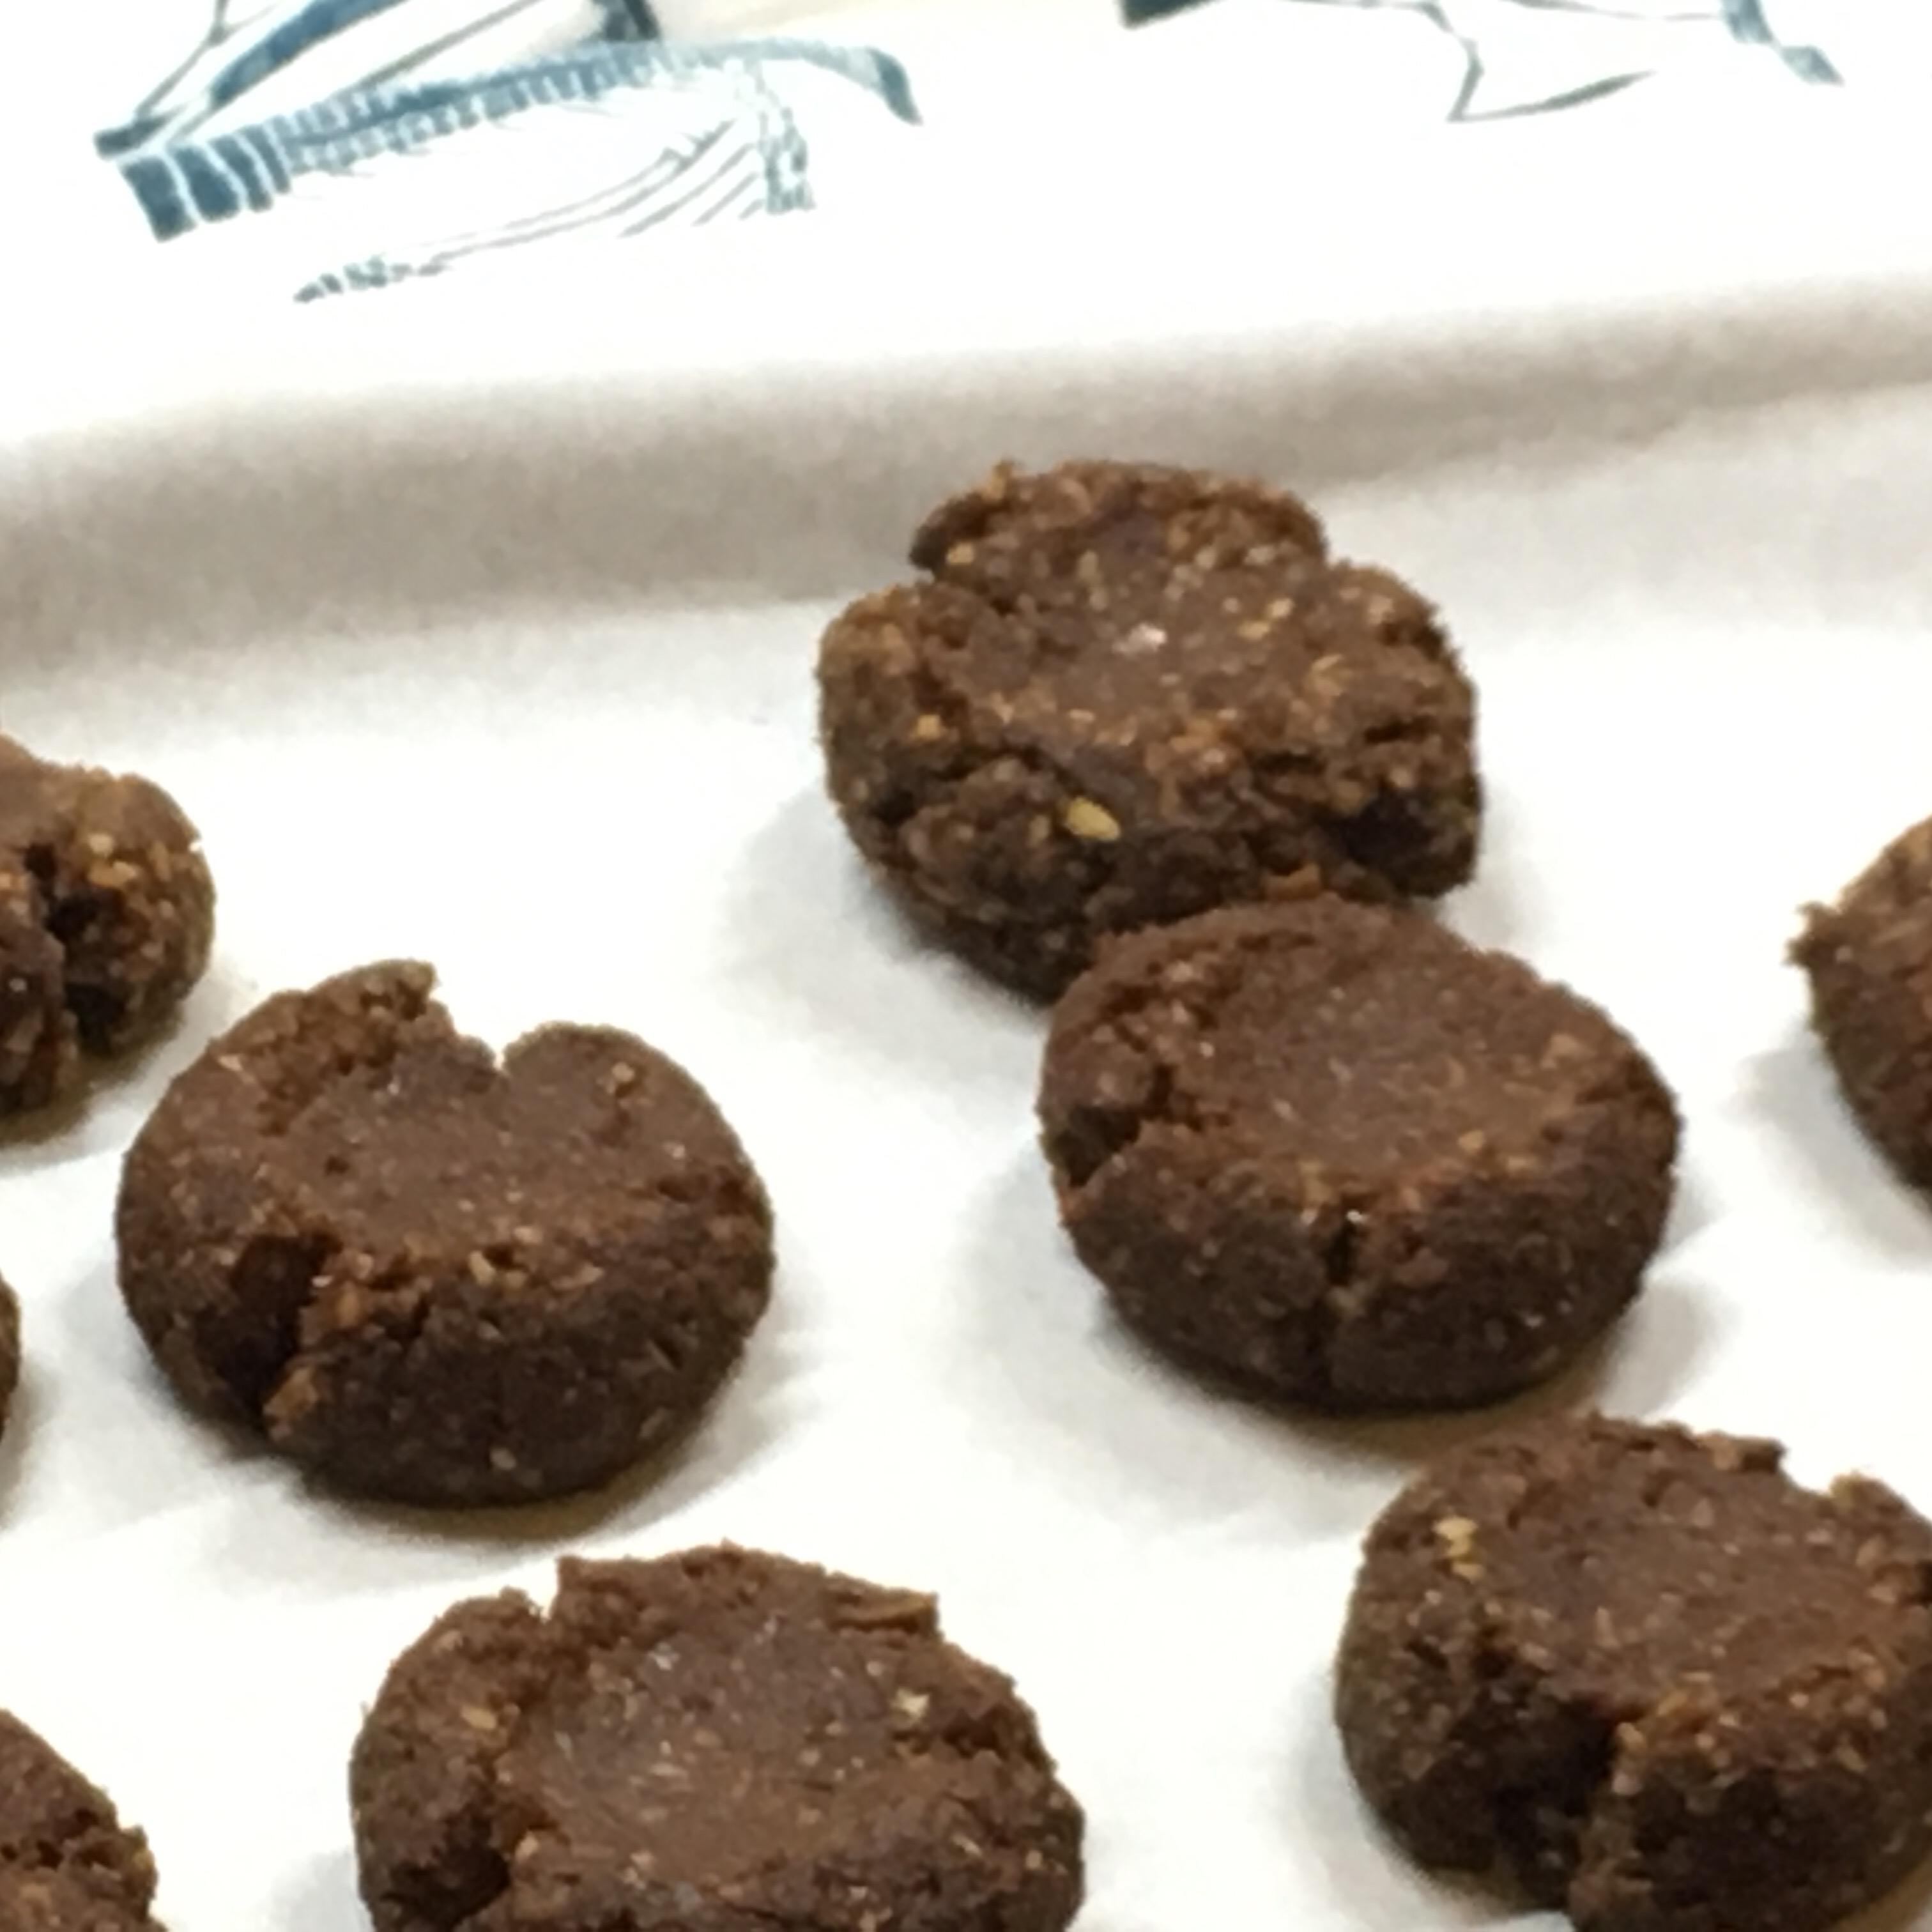
Once all of the dough was rolled and lined up on the baking sheets, I wen through and made an indentation in the center with my thumb. If you ever made those jam filled “thumbprint cookies” as a kid – same thing. Then, I placed the baking sheets in an oven preheated to 350 degrees.

If you are planning on freezing these, cook the bites for 10-12 minutes. If you don’t plan on freezing, you can leave them in for 12-15 minutes. Since there isn’t egg in this cookie, you don’t have to worry about eating raw dough. The heat just helps dry out and bind the batter. If you are freezing the cookies, you will want them a bit more “fudgy”, so they don’t need as long to cook.

When the cookies are done, set them aside to cool. Melt the reserved chocolate, and place in a Ziploc bag. Make a DIY pastry bag out of the chocolate filled Ziplock, and push all the chocolate into one corner of the bag. Snip the end with scissors, and drizzle the chocolate over the cookies.

Storing and Enjoying

The cookies can be kept in an airtight container for about 5 days, or frozen for up to a month. Keep them in reach for a quick treat, the help keep your resolutions on track!

Mocha Protein Bites {Paleo, Gluten Free, Nut Free, Grain Free, AIP, Dairy Free & Vegan}

Mocha Protein Bites {Paleo, Gluten Free, Nut Free, Grain Free, AIP, Dairy Free & Vegan}

Ingredients

  • 3 cups Pumpkin Seed Flour
  • 1/2 cup coffee
  • 1/2 cup unsweetened cocoa powder
  • 1/2 tsp baking powder
  • 1/4 cup maple syrup (up to 1/2 cup if you like a sweeter cookie)
  • 2 tsp vanilla
  • 3 oz dark chocolate

Instructions

  1. Preheat oven to 350 degrees Fahrenheit, and line a cookie sheet with parchment paper.
  2. Combine all ingredients EXCEPT for the 3 oz of dark chocolate in a blender, and mix until smooth.
  3. Roll out the dough into small balls (no larger than 1/2" in diameter).
  4. Using your thumb, press down in the center of each cookie.
  5. Bake for 10-12 minutes for a chewier cookie (better if you plan on freezing), or 12-15 minutes for a crisper cookie.
  6. Remove cookies from oven. While cookies are cooling, melt the dark chocolate, and place into a Ziploc bag. Push all of the melted chocolate to one corner of the Ziploc, and snip the tip of the bag. Drizzle chocolate onto the cooling cookies.

Notes

Adapted from The Kitchn

Schema/Recipe SEO Data Markup by Yummly Rich Recipes
https://www.urbancavewoman.com/recipes/desserts/mocha-protein-bites-paleo-cookie/

One Pan Paleo Lemon Chicken with Artichokes

Posted on January 2, 2017

Happy New Year! If your holiday season has been anything like mine, there have been quite a few over indulgences these past few weeks. Now that the season of excuses is over, it is time to get back on track, and on budget with my meal planning. My husband and I have had a blast cooking rich and decadent meats for various holidays; deep fried sweet potato latkes, steaks, lamb, lobster and lots of things wrapped in bacon. As we ring in 2017, I am falling back on some tried and true favorites to get back on track. One of our favorite “go-to” and “one-pan paleo dinner” recipes is a very easy lemon chicken.

This recipe is super simple – and perfect for either a quiet evening home, or when you have last minute guests you want to impress. What I love is that this recipe uses bone broth, so in addition to a delicious dinner, I’m also boosting my immune system and helping out my joints.

Try this served with some cauliflower rice, or over sweet potato noodles. Delicious, healthy, and easy!!! What could be better?

Ingredients

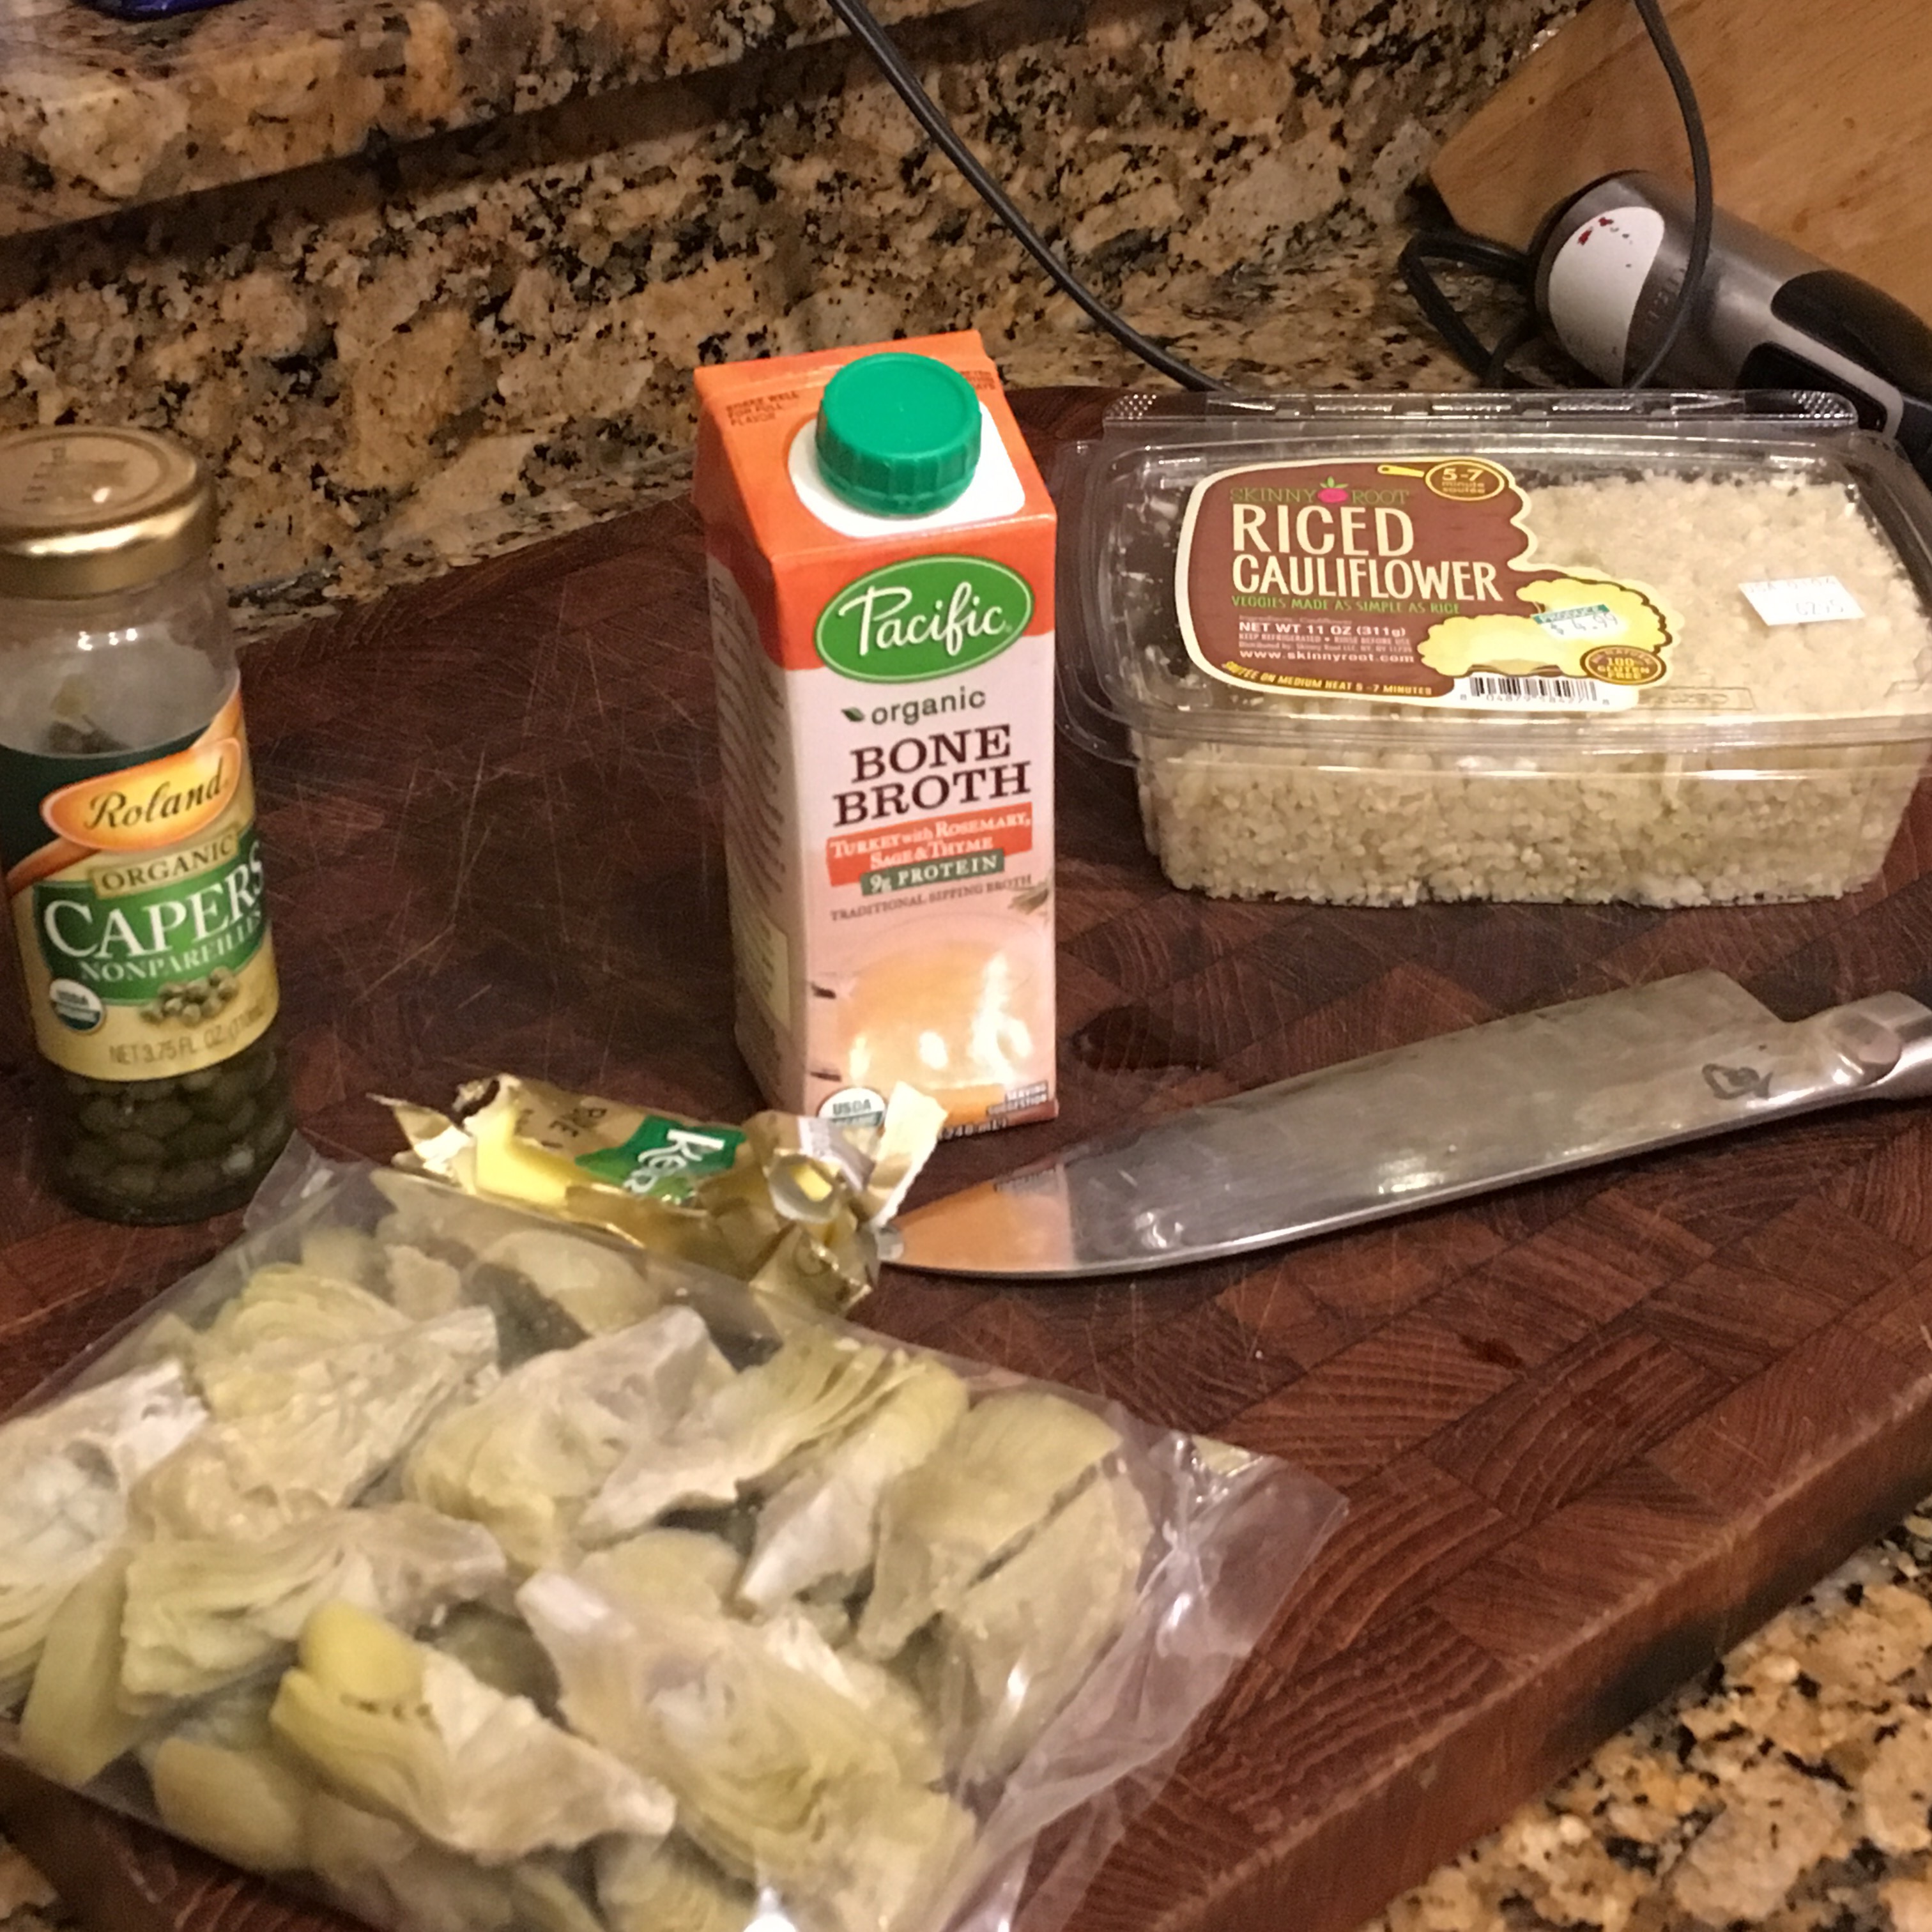
The best part of this quick and easy one pan dinner, is that virtually all of the ingredients will be available in any grocery store. Thin sliced chicken or tenders works best, but if you can only find boneless skinless breasts, that will work as well. Just make sure to cut the breasts into smaller tenders before cooking. You will likely be able to find frozen or canned artichoke hearts in most stores. I like to use the frozen artichoke hearts, as they are easier to find with no preservatives. Lemon, olive oil, paprika, and rosemary are all common ingredients easy to find (if you don’t have them in your pantry already).

The most exotic ingredient here is the bone broth. While homemade broth will always be best, we are all human and probably don’t have bottles of it sitting in your fridge ready to go. Luckily, there are several companies that have started selling pre-packaged bone broth. I like Pacific Natural personally, and they sell them in 8 0z containers, which is perfect for the small batch recipes I make most of the time.

Cooking Notes

The lemon flavor for this recipe comes from extracting the flavor early. Make sure to wash your lemon well, and then thinly slice it, removing obvious seeds. Drizzle some olive oil in the pan, and lay the lemon slices down in a single flat layer on the pan as it heats up. Sear the lemons on both sides so that they are browned (about 2-3 minutes per side), and then set them aside for later. What is left in your pan is pure, delicious lemon flavor. This will add great tang to the chicken as you sear it, and really enhance the broth when you deglaze the pan later. I like to make this recipe in a cast iron skillet, but the acid from the lemon can strip some of the seasoning.

Once you have extracted the lemon flavor, start to sear your chicken in batches. I will do this over medium/ high heat, and cover the pan with tin foil to have the chicken cook through faster. You should only need about 3 minutes per side for the chicken to brown well, but that will vary depending on the chicken thickness. Set the chicken aside in a covered dish, and keep warm. Add the artichoke hearts and capers to the pan, and let them brown for 3-5 minutes.

When the artichokes start to look brown, and glazed by the pan drippings, add in the 1/2 cup of bone broth. Use a wooden spoon to scrape up all the flavorful bits from the pan as the broth simmers. Once the simmering has settled down, add back in the chicken (and all juices) and lemon slices from earlier. Turn the heat down to medium to simmer for about 2 minutes, before it is ready to serve.

Serving Notes

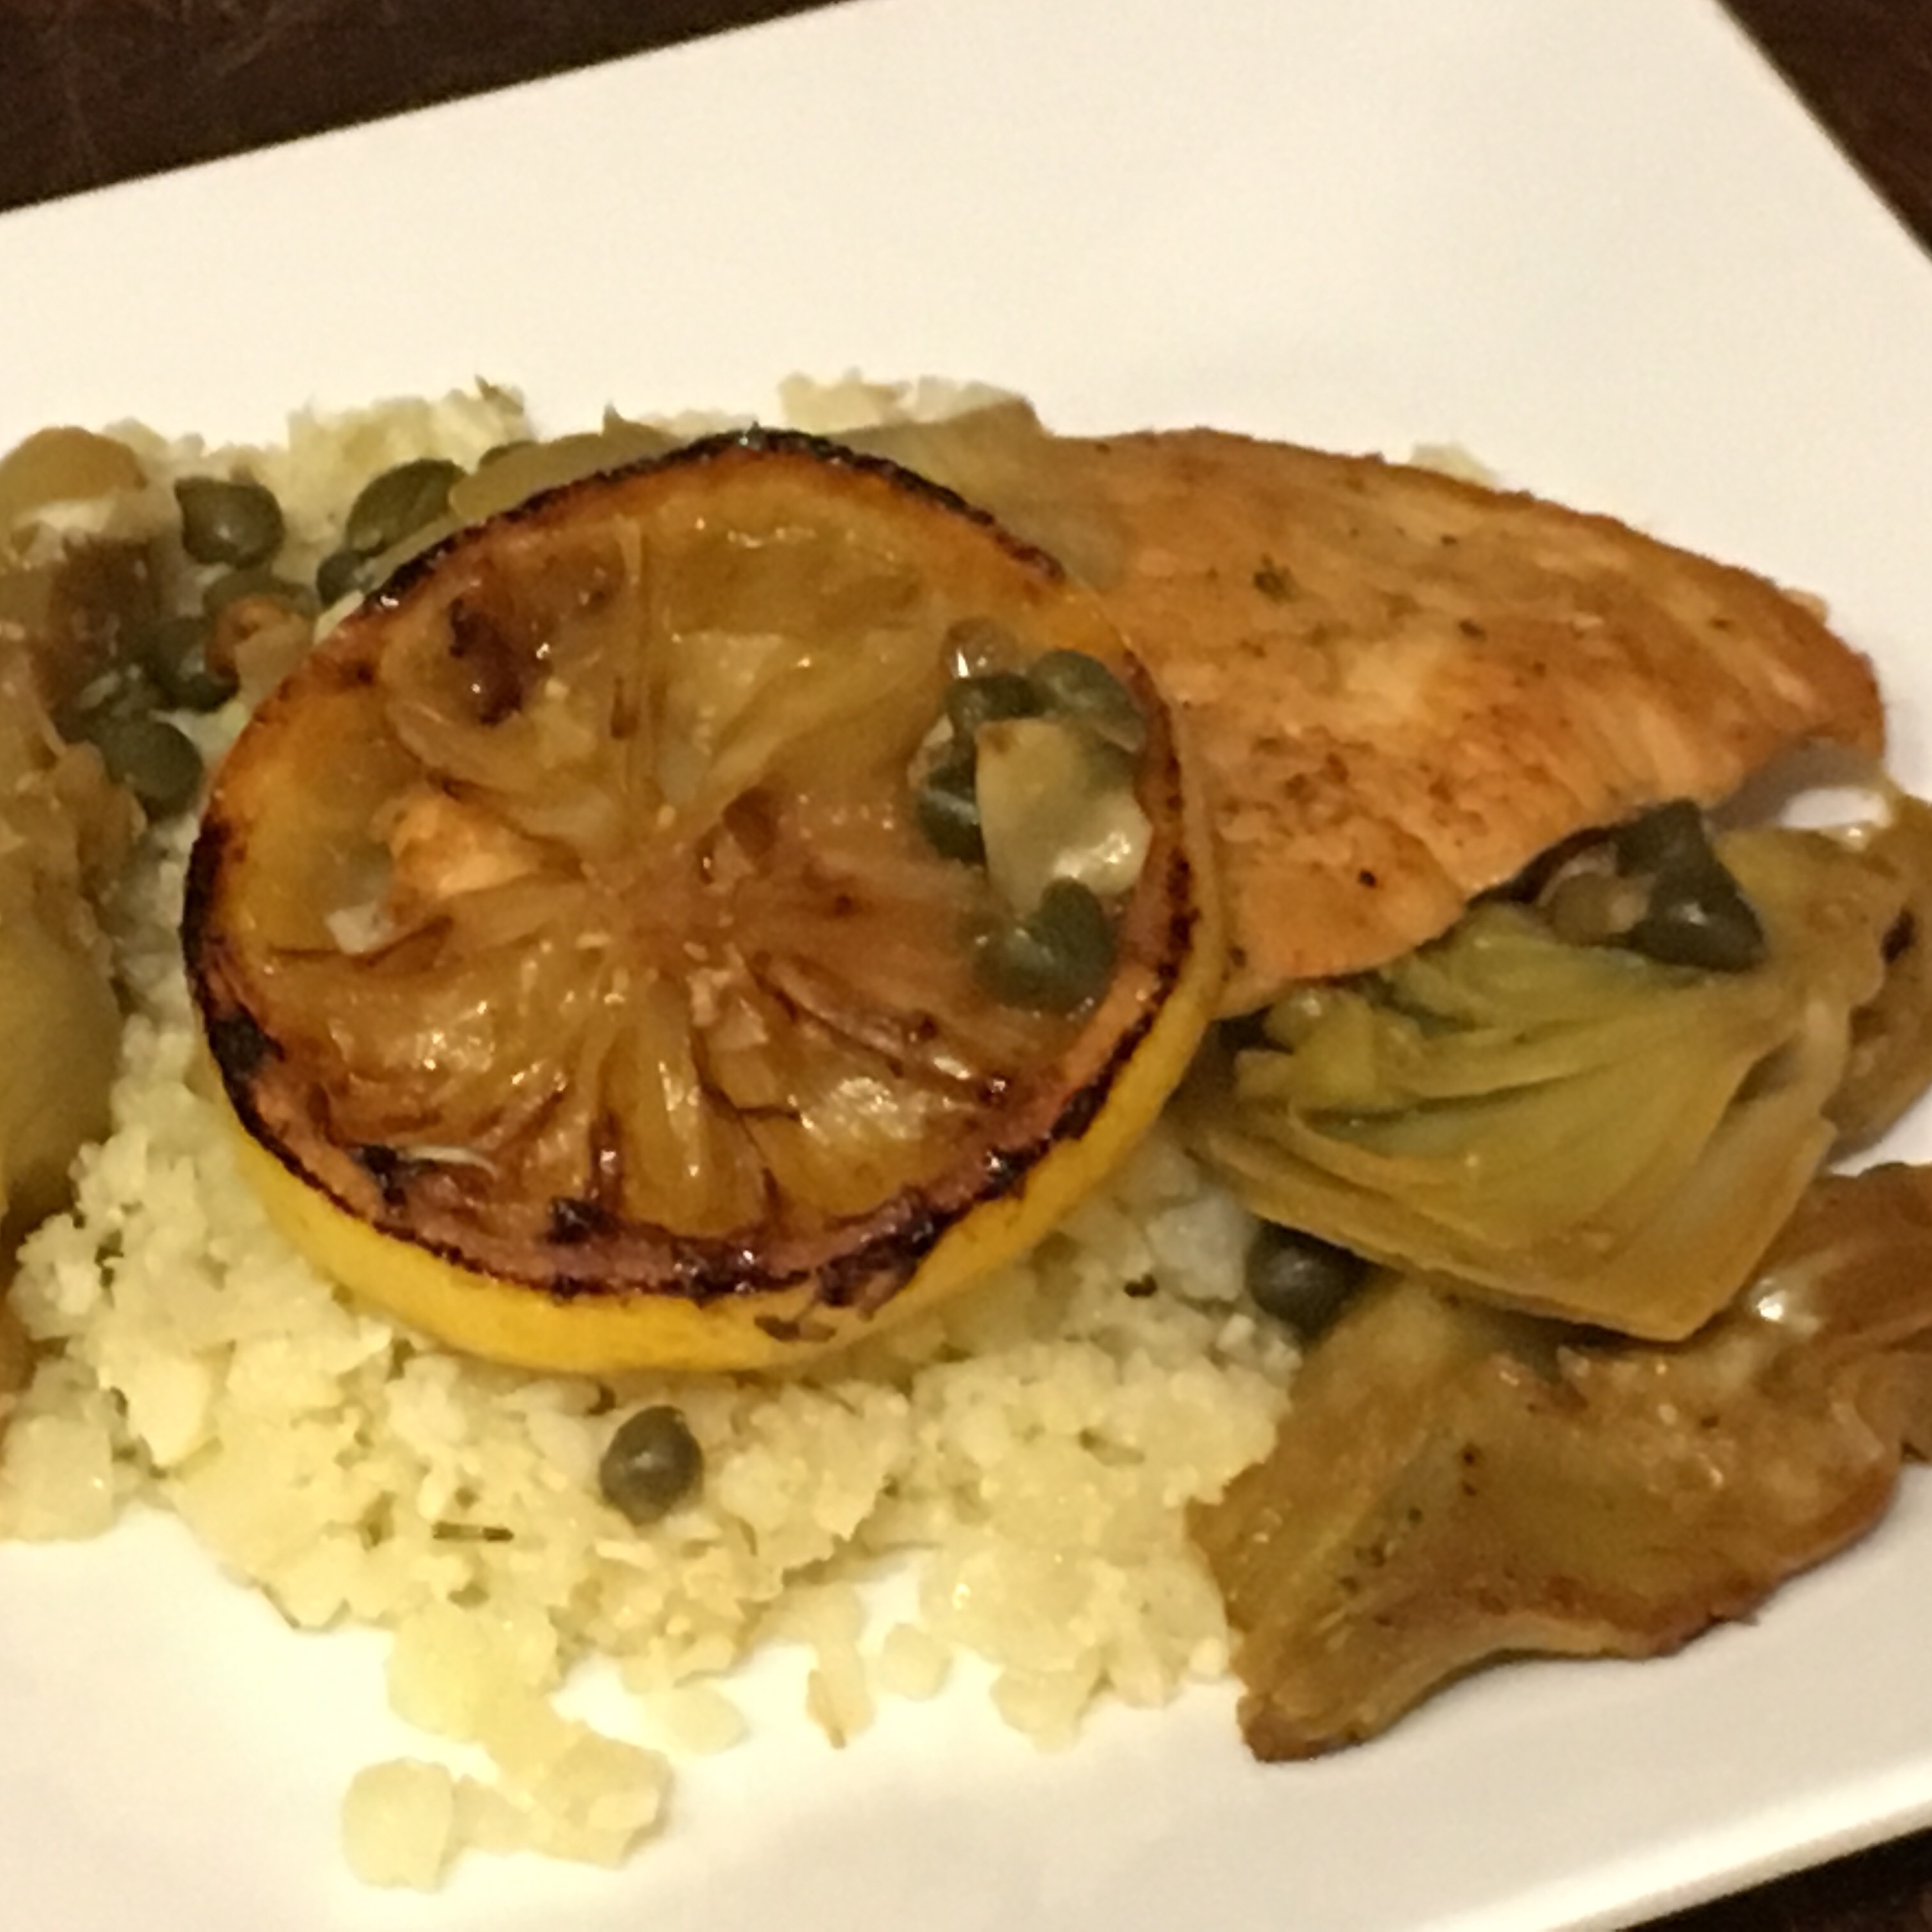
One Pan Lemon Chicken over Cauliflower Rice

This recipe really goes well with anything, but I love it over a cauliflower puree or cauliflower rice. The bone broth “drippings” in the pan are delicious, so make sure you don’t let it go to waste! Spoon over the finished product, or place in a gravy boat for self-serve diners. This is a sure-fire crowd pleaser, and such an easy week night dinner. It will even heat up nicely for lunch the next day!!!


One Pan Paleo Lemon Chicken with Artichokes

One Pan Paleo Lemon Chicken with Artichokes

Ingredients

  • 1.5 lbs boneless skinless chicken breast (tenderloins or thin cut are best)
  • 1 package frozen, quartered artichoke hearts
  • 1 lemon
  • 1 tbsp capers (with brine)
  • 2 tbsp olive oil
  • 2 tsp paprika
  • 1 tsp rosemary
  • 1/2 cup chicken bone broth

Instructions

  1. In a zip-lock bag or Tupperware, combine chicken, 1 tbsp olive oil, rosemary and paprika (this can be done up to several hours before cooking - but no longer than about 12 hours).
  2. Wash lemon and remove sticker. Slice lemon into thin slices, discarding the end pieces. Place a skillet over medium-high heat, and drizzle 1 tbsp of olive oil in the pan. Lay lemon slices in a single layer on the pan. Brown lemon slices on both sides (about 2 minutes per side). Remove lemons, and set aside (you will use these later).
  3. Add chicken to the skillet in batches. Brown chicken for about 3-5 minutes per side (depending on thickness of slice) or until cooked through. Set aside chicken in a clean, covered dish.
  4. When all chicken has been cooked, add the 1 tbsp of capers (with brine) and artichoke hearts to the pan. If the artichoke hearts haven't thawed completely, don't worry. Just cover the pan with tin foil, and let them defrost in the pan. Let the artichokes brown for about 5 minutes.
  5. Add bone broth to the pan, and use a wooden spoon to get all the flavorful bits up. As the broth starts to bubble and simmer, add the reserved chicken and juices back to the pan, with the reserved lemon slices. Let the chicken and veggies simmer for another 2 minutes.
  6. Serve immediately over cauliflower puree, cauliflower rice, sweet potato or veggie noodles.

Notes

Because the capers tend to be very salty, I don't add salt to this recipe. However, add salt and pepper to your own personal taste.

I like to strain off the remaining "sauce" from the pan, and serve it in a gravy boat on the table for self service. However, you can also ladle it directly onto each plate. Either way, make sure you don't let all of that goodness go to waste!!! If you can't find bone broth, chicken broth will also work in this recipe.

Schema/Recipe SEO Data Markup by Yummly Rich Recipes
https://www.urbancavewoman.com/recipes/entrees/one-pan-paleo-lemon-chicken-with-artichokes/

Butter Coffee: A cup a day keeps the doctor away

Posted on December 19, 2016

Butter Coffee (known under a variety of names), is essentially MCT oil, butter and coffee blended together into a frothy, latte like drink. It has become incredibly popular among health minded individuals, and the Paleo community. Since discovering it last winter, I can’t stop extolling it’s virtues. While I know that this isn’t a panacea for everyone (and you should consult your doctor if you have any health issues), for me this concoction has been utterly LIFE CHANGING. Here is my story…  Read more

Back to top