Crispy Oven Baked Baby Artichokes

Posted on March 29, 2015

Artichokes are one of my favorite vegetables. Not only are they absolutely delicious, but they are packed with vitamins, minerals, and amazing health benefits. Artichokes are filled with fiber, Vitamin C, potassium, and Magnesium (which your body needs in order to absorb calcium). The health benefits of artichokes are also amazing. As already stated, the high Magnesium content helps with the absorption of calcium (very important to note ladies). Its high fiber content means that it can help with many digestive issues, and the potassium found in artichokes can help to neutralize the effects of sodium (important if you have issues with blood pressure). The curative properties of the artichoke seem to be endless; there have been claims that artichokes can help with everything from preventing cancer, to curing a hangover. Truly, the artichoke is an amazing super-food, and thankfully, it tastes really good too.

IMG_0017What most people don’t realize, is that while the tender heart of the artichoke is the most popular part to eat, many of the nutritional benefits lie in the leaves. Unfortunately, the leaves are often difficult to get to, and too fibrous to enjoy eating. The other down-side to the artichoke is that it can be a true pain to prepare. Fully mature artichokes need to be trimmed and cleaned in a very time intensive way in order to be easily edible at the dining table. Enter the baby artichoke. Baby artichokes are a great way to get the health benefits found in the leaves, without all of the pain and hassle associated with the fully grown variety.

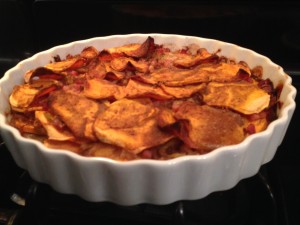
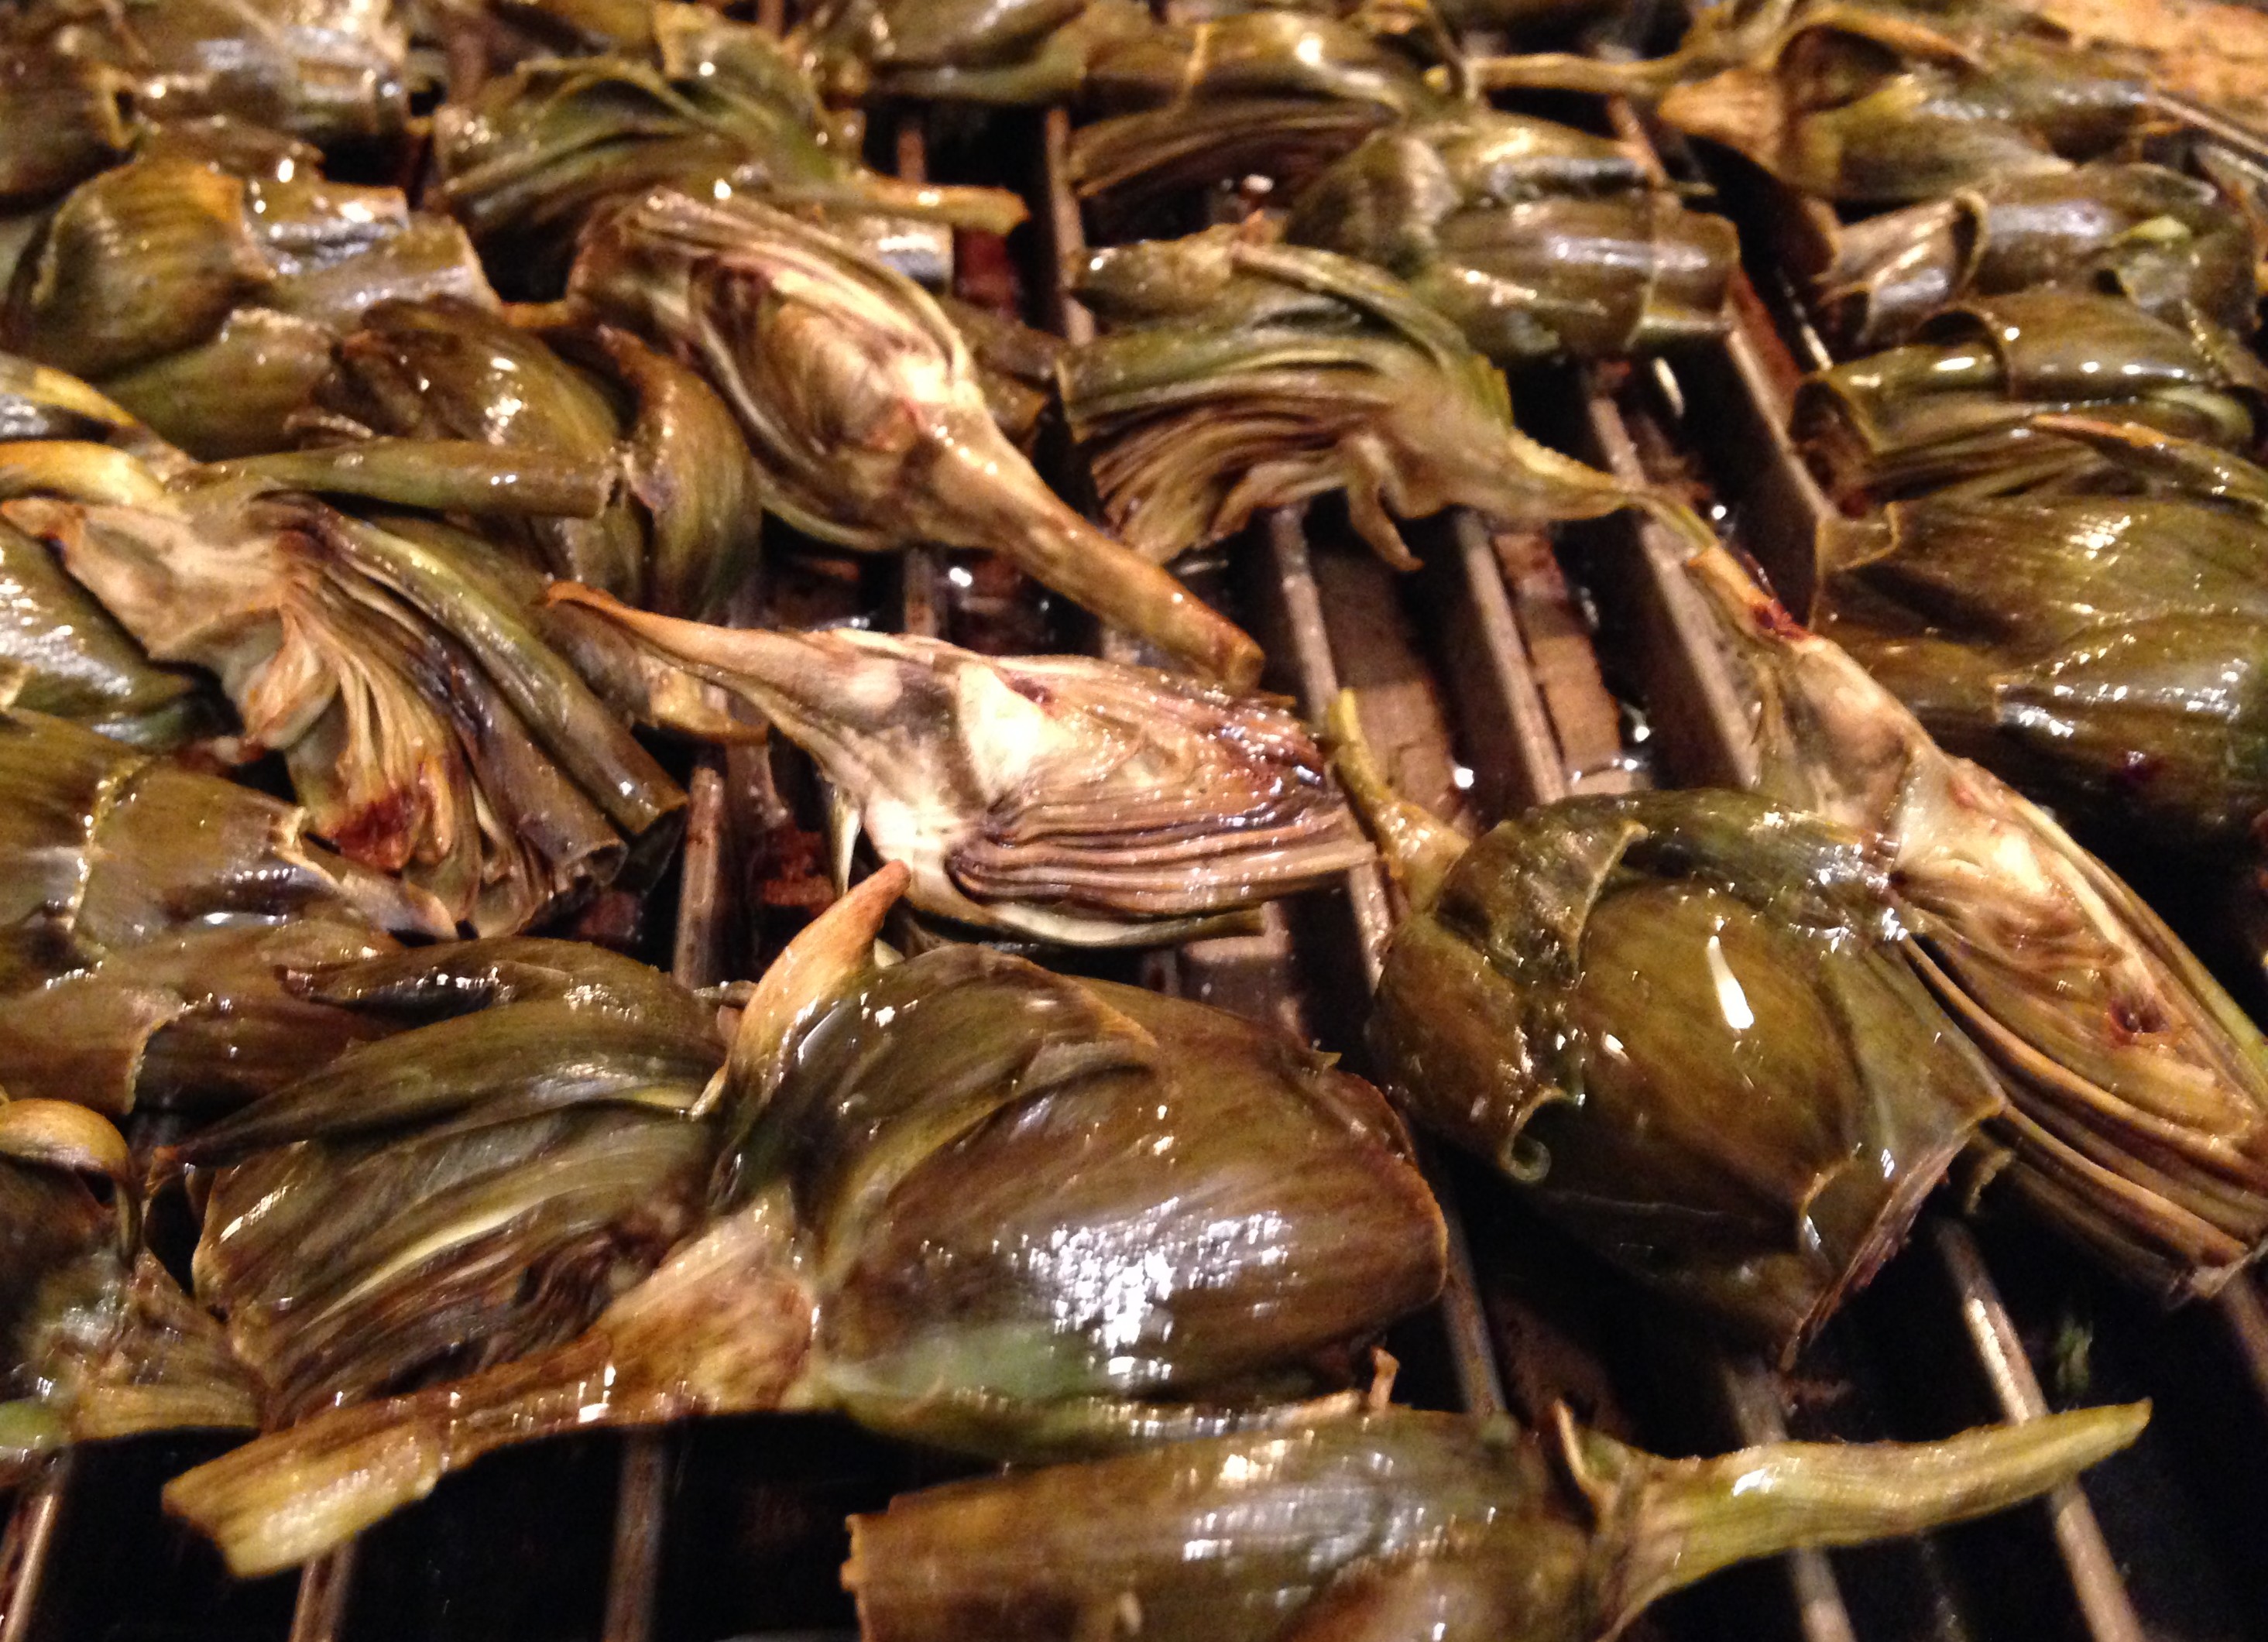
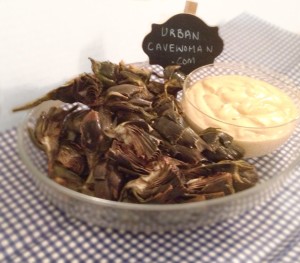
There are many ways to prepare the baby artichoke, but I had seen a recipe floating around the internet for a crispy oven baked version, and decided to try it. I served these with a spicy chipotle mayo with dinner, and they were a huge hit. They didn’t turn out crispy like a french fry, but they were very flavorful and addictive. Give them a try… I bet you can’t eat just one.


Crispy Baby Artichokes with Chipotle Mayo
A delicious and addictive veggie side.
Write a review
Print
Crispy Artichokes
  1. - 1 package of baby artichokes (mine had 9 in it)
  2. - 3 tablespoons light extra virgin olive oil
  3. - Juice from 1/2 a lemon
  4. - Pinch of Sea Salt
Chipotle Mayo
  1. - 1 cup light extra virgin olive oil
  2. - Egg
  3. - Juice from 1/2 a lemon
  4. - 1/4 tsp Chipotle powder
  5. - Pinch of sea salt
For the Artichokes
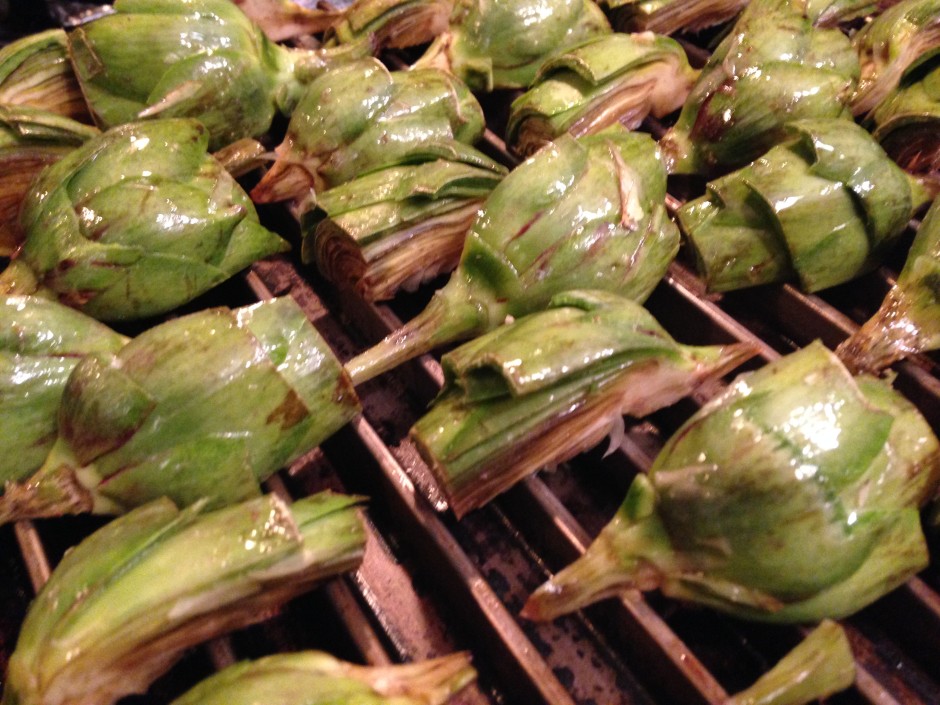
  1. Preheat your oven to 400 degrees.Remove the thicker outer leaves of the baby artichoke. Don't worry if you don't remove enough, when they are cooked you can still peel off the thicker outer leaves if they are too chewy, but doing this now makes them slightly easier to consume. Use a peeler to clean up the stem, and then trip the top portion of the artichoke off and quarter, using a very good knife. Toss the artichokes with the olive oil, lemon juice and salt. Place on a baking sheet, and cook for about 25 minutes.
For the Mayo
  1. Combine all ingredients in a wide mouth mason jar. Using immersion blender, combine all ingredients until it reaches the consistency of aioli (slightly runnier than traditional mayo).
Notes
  1. If you don't trim enough of the outer leaves off, the artichokes will be difficult to "pop" in your mouth, but are still very enjoyable, Simply peel off the thicker outer leaves, and then dip in the mayo. Just make sure to put out an extra bowl for you (and your guests) to dispose of the leaves.
Equipment
  1. - A good sharp knife (Shun or similar quality)
  2. - Mason Jar
  3. - Immersion Blender
Adapted from Artichokes adapted from Running to the Kitchen
Urban Cavewoman https://www.urbancavewoman.com/

Smoked Salmon Egg’s Benedict

Posted on March 29, 2015

Until this morning, I had never poached an egg. Embarrassing, but true. You see, one of my favorite brunch selections of all time is Eggs Benedict – but it seems so complicated to make! I’ve seen people poaching eggs with those special little poaching ramekins, and painstakingly following Julia Child’s instructions to create the perfect Hollandaise Sauce. While I am in total agreement that the end product is worth it – the concept of my doing this before my coffee has set in just does not compute. So, this morning when my husband turns to me and asked (oh so innocently), “so, how do you poach an egg?” I knew that there had to be a way to recreate this Saturday morning staple with much less hassle.

Poaching an egg is actually very simple – and requires no fancy kitchen equipment other than a pot and a slotted spoon. While there are lots of fancy contraptions out there to make this process “simpler” – the old fashioned way worked just fine for us.

20150328_100200

To Poach an Egg

Equipment

2- quart pot, slotted spoon, whisk

Ingredients

1 tsp sea salt

2 tsp white vinegar

Eggs (we used 5)

Directions

Fill the pot so that it has about 1 inch of water. Add the salt and vinegar, and bring to a simmer. Crack your egg into a small ramekin. Once the water has reached a simmer, use the whisk to create a “whirlpool” in the pot, and quickly drop the egg into the water. For runny eggs, wait exactly 3 minutes before removing the egg with a slotted spoon. Personally, I like my whites FIRM, so I let my eggs cook for 4 minutes.

Let the egg rest on a plate layered with paper towel, and repeat the process.


Now, the traditional Eggs Benedict is not at all Paleo. Poached eggs, toasted English Muffin, slab of Canadian Bacon, and loads of delicious Hollandaise. Yum. But not exactly what you want to whip up for a casual breakfast on Saturday, or the best thing for you. To “paleo-ify” this recipe, I replaced the English Muffin with a fresh kale salad, consisting of avocado and dried cranberries, and tossed with olive oil, lemon juice, salt, pepper and rosemary. I then replaced the Canadian Bacon with smoked salmon, and topped it all off with the poached eggs and a few dollops of  Easy Paleo Hollandaise (recipe below).

The result was a delicious, filling and refreshing breakfast. I have a feeling that I will be getting a lot of practice poaching eggs going forward.

#paleo #whole30 Salmon eggs Benedict. Recipe will be posted later today on www.urbancavewoman.com

#paleo #whole30 Salmon eggs Benedict. Recipe will be posted later today on www.urbancavewoman.com

Paleo Hollandaise Sauce
Quick and easy blend of a classic hollandaise and an aioli. The perfect pairing for a paelo friendly Eggs Benedict.
Write a review
Print
Ingredients
  1. - 1 cup light olive oil
  2. - 1 egg
  3. - The Juice of 1/2 a lemon
  4. - Pinch of Cayenne
  5. - Pinch of salt
Instructions
  1. In a wide mouth mason jar, combine place the olive oil, egg, lemon juice, salt and cayenne. Place Immersion Blender in the jar and blend. Slowly stir the blender while on until the mixture is thick and no more oil appears to be separated at the top.
Notes
  1. This is more of an aioli in texture (more viscous than the traditional sauce) - but it tastes great. While you could make a traditional Hollandaise paleo, it would take a lot longer. This is the "cheaters way" of creating a great tasting sauce without being fully caffeinated for the day.
Equipment
  1. - Immersion Blender
  2. - Wide Mouth Mason Jar
Urban Cavewoman https://www.urbancavewoman.com/

Sweet Potato Au Gratin

Posted on March 27, 2015

For a while now, I’ve been hearing about nutritional yeast. Since going “mostly paleo” my husband and I have basically eliminated dairy. While I no longer miss the cream in my coffee, or having yogurt and fruit for breakfast, I do miss cheese – because cheese is awesome. While I hate the way it makes me feel, cheese is decadent and delicious – and I have definitely started to miss it. I’ve read on a few blogs that nutritional yeast is not only a great source of vitamin B, but also a pretty good cheese flavored substitute – so I decided to give it a try and order some from Amazon. When it arrived, I was flummoxed. It was a yellowy powder, that smelled vaguely like Parmesan. I had no idea what to do with it. Some blogs suggested sprinkling it on veggies for flavor, but I didn’t think that would really satisfy my gooey-cheese cravings. After some intense Google-ing, and tasting, I figured out that I might be able to use the nutritional yeast to make a cheese sauce of sorts. Potato Au Gratin seemed like an obvious choice.

IMG_0003I used the nutritional yeast to make a roux of sorts, and layered that with thin medallions of sweet potato, sauteed leeks, onions and pancetta. What came out was… delicious. It didn’t have the gooey texture of a typical gratin, but it was wonderful. I served it to my husband and my mother-in-law for dinner, and they both had seconds. While I’m still not a nutritional yeast ninja, this is certainly making me excited to try some more recipes out!

Sweet Potato Au Gratin
Write a review
Print
Ingredients
  1. 1 large sweet potato, peeled, and thinly sliced.
  2. 1 large yellow onion, thinly sliced
  3. 1 leek, bottom portion thinly sliced (do not include the dark green portion of the leek)
  4. 1 package of cubed pancetta (about 4 oz)
  5. 2 eggs
  6. 1/2 cup chicken stock
  7. 1 tablespoon finely sifted Sunflower & Pumpkin Seed Flour
  8. 2 teaspoons ghee or palm shortening (plus some for cooking the onions)
  9. 1/4 cup nutritional yeast
  10. Salt & Pepper to taste
Instructions
  1. Pre-heat oven to 400 degrees.
  2. In a skillet, sautée the onion until translucent with a bit of the Ghee on medium heat (about 3-5 minutes). Add in the salt, pepper, leeks and pancetta, and continue to sautée for another 3 minutes. Set aside to cool.
  3. In a small pot over low heat, melt the ghee (or shortening). Once it starts to melt, whisk in the flour. It will get really goopey. Start to slowly whisk in the chicken stock. Add in the nutritional yeast, and continue to whisk until it is smooth. Remove from heat. In a small bowl, whisk the two eggs and slowly whisk into the pot with the chicken broth mixture. Note: Make sure your broth is not simmering or very hot, or your egg will cook. It is important to keep whisking and to add the egg slowly to avoid getting a clumpy sauce.
  4. Layer the bottom of a pie dish with a layer of the sweet potato. Spread the onion, pancetta and leek mixture on top. Repeat until you have a final layer of sweet potato on top. Pour the sauce over the layered potatoes. Cover the pie dish with tin foil, and bake for 45-50 minutes.
  5. Remove the foil, and check to see if the potato's are fork tender. Throw the oven on broil for the last 5-10 minutes. Serve.
Notes
  1. This is great served hot, but can also be re-heated for leftover's the next day... if you have any left over 🙂
Urban Cavewoman https://www.urbancavewoman.com/

Kale, prosciutto and mushrooms

Posted on November 13, 2014

Not only is this salad incredibly healthy, but it is visually appealing. Further proof that food can be art.

Back to top