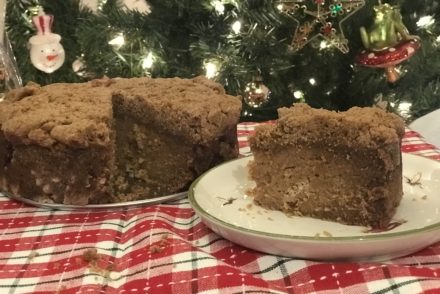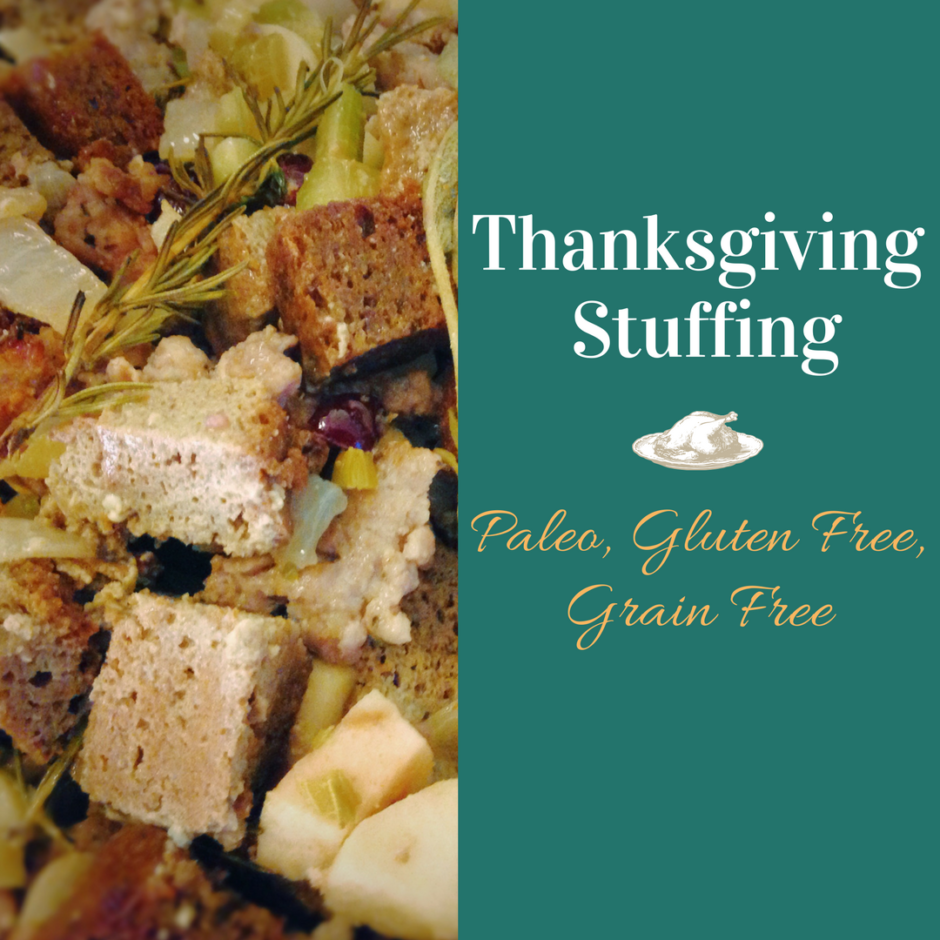
Homemade Stuffing
Stuffing is my favorite of all of the Thanksgiving sides. Growing up, my mother would make stuffing from scratch, starting days ahead of the holiday. I would always get excited when I saw her “sausage machine” come out. She would grind up her own blend of pork and spices, and stuff it into sausage casing. It took days to get all of the ingredients made, but it was worth it. For me, at least. At some point, the effort of taking three days to make stuffing was no longer worth it. Our stuffing would be purchased from a local market. In spite of my loud (and numerous) protests, we never got that homemade sausage stuffing again.
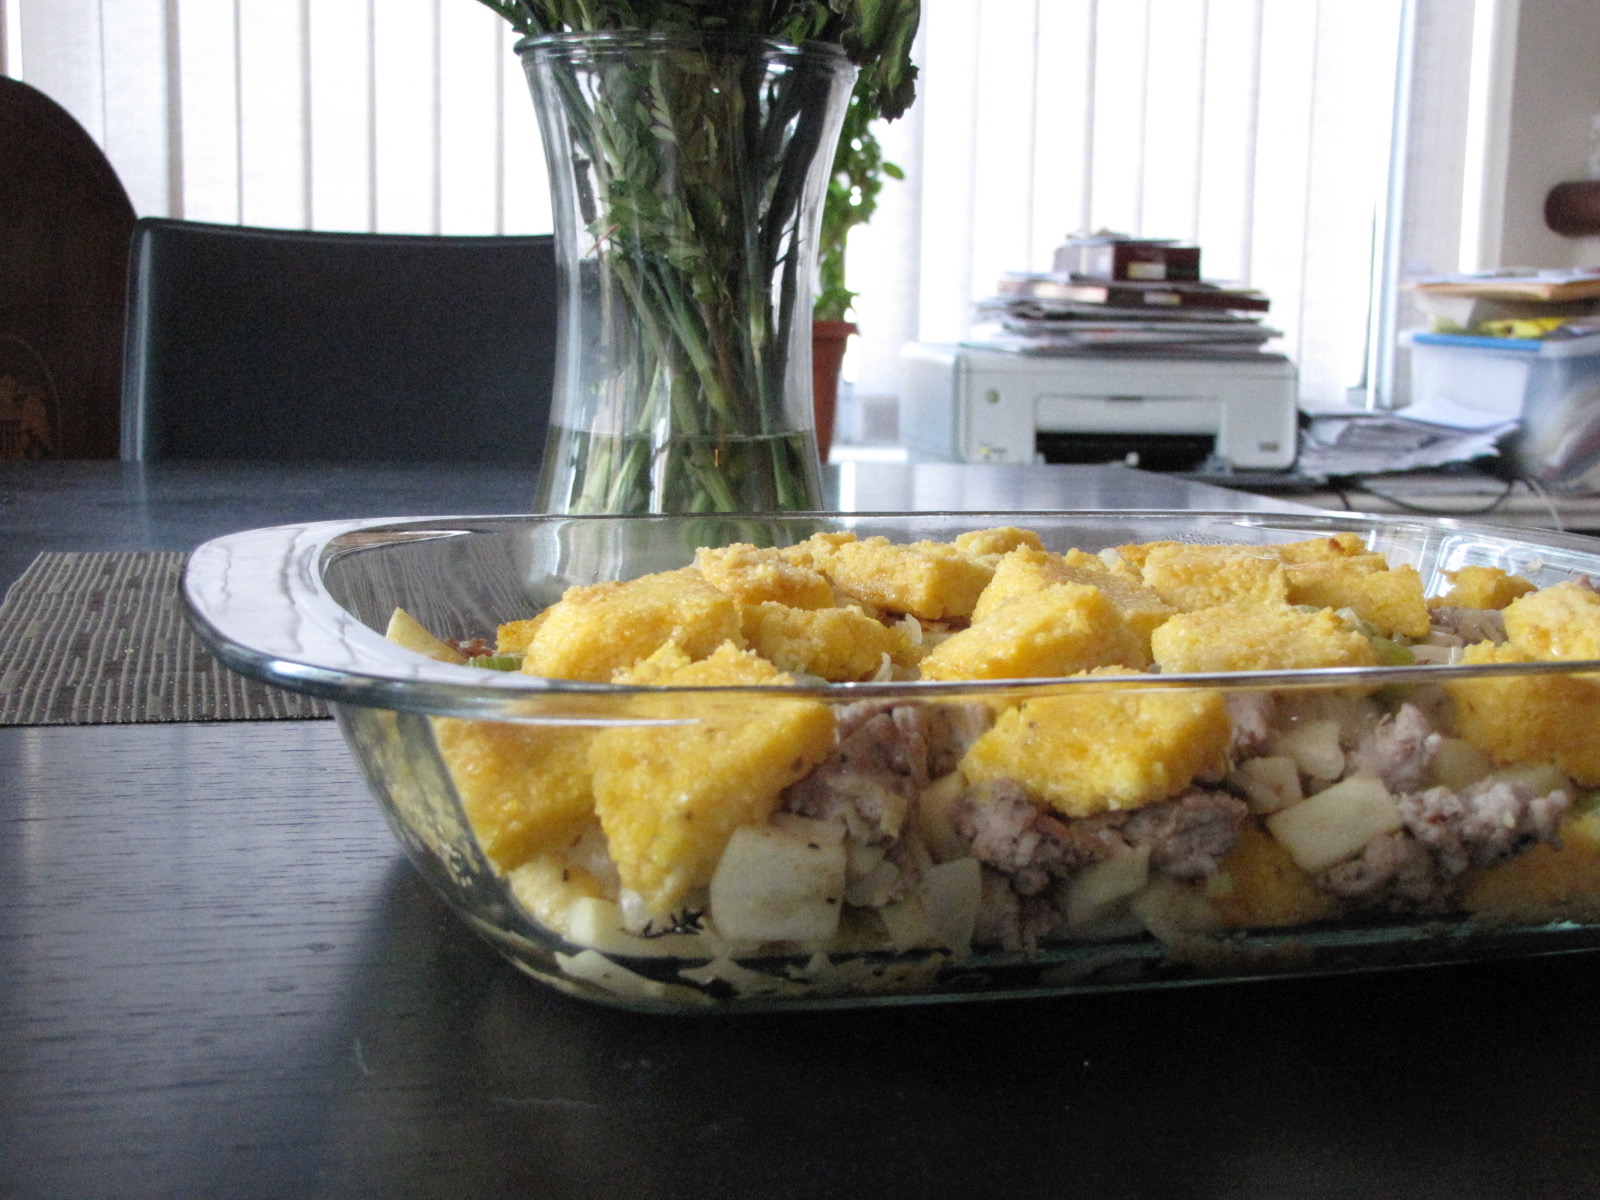
Stuffing made with polenta instead of bread.
Now that I am in charge of our Thanksgiving menu, I understand that spending three days on one side dish may be overkill. But that doesn’t mean I give up completely! Over the years, I’ve honed my own recipe for a classic stuffing to accommodate our food allergies and restrictions. The base has always remained the same, a bread, sausage, celery, onions, apples, dried cranberries and savory herbs.
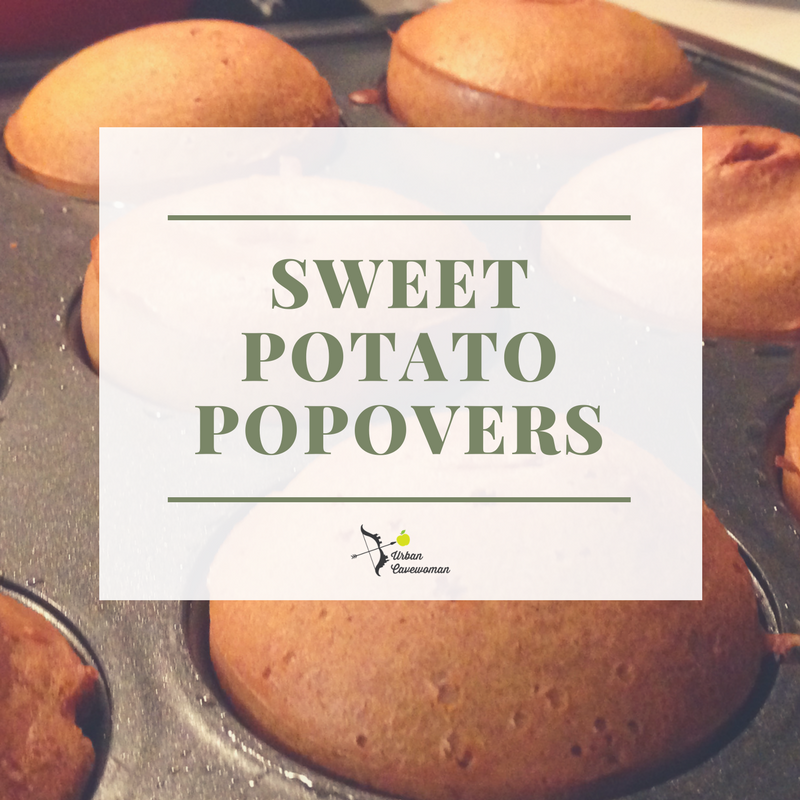
Below is my recipe for a Paleo Classic Stuffing. This recipe uses a sweet potato bread, that is subtly sweetened with maple syrup. If you prefer a more savory option, I’ve done this recipe using gluten free corn bread, plantain bread, and even polenta. The choice is yours!
The Game Plan
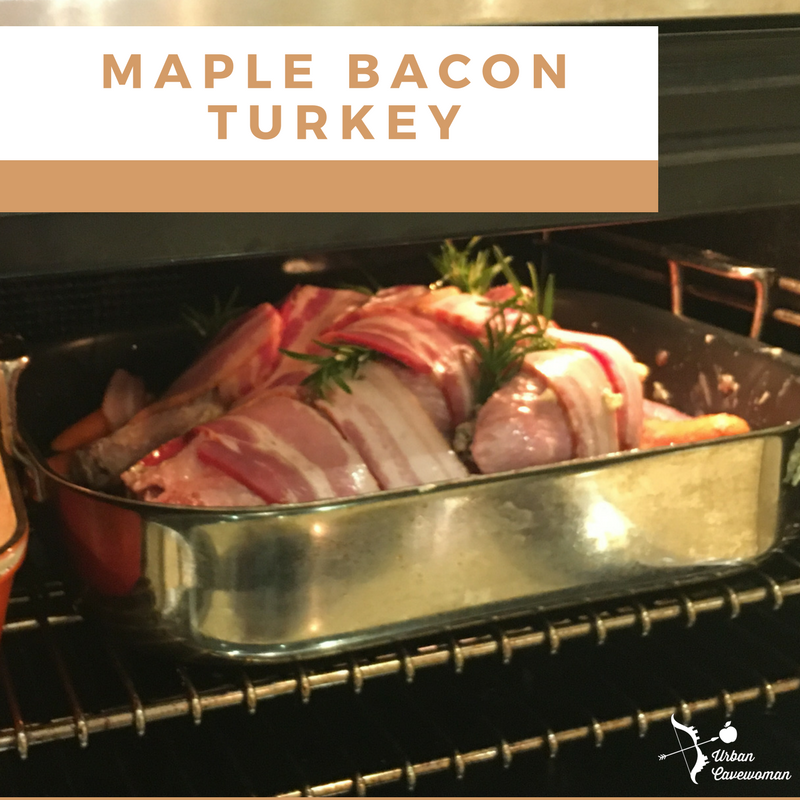
I like to do as little as possible on Thanksgiving, so my big cooking day is Wednesday. Not only does this give me more time during the holiday to enjoy friends and family, but it also helps reduce the traffic jam in the kitchen. By prepping as much as possible to be heated up before dinner, the oven is now free to focus on the turkey. Once the bird comes out of the oven, I pop in the pre-made trays of sides to cook for 30 minutes. This allows time to make the gravy, and carve the turkey. Everything comes to the table piping hot and read to serve.
First Things First
The first thing you have to make is the bread. I either do this Tuesday night or Wednesday – your choice. This bread is very simple, and can be done in a blender – the active time is about 10 minutes. I love this bread base because it is dense enough to hold together, even when soaked in broth. The secret ingredient here are white sweet potatoes (also known as Japanese sweet potatoes). They are slightly dryer and stickier than normal sweet potatoes, but have the same taste profile. If you can’t find these, regular sweet potatoes will work. The texture of the bread won’t be as dense though, so monitor how much liquid you add when making the stuffing.
The easiest way I have found to steam the sweet potatoes is in the instant pot. It takes 10 minutes on manual setting, and then do a quick release of the steam. Carefully peel and chop into pieces to make blending easier. The batter that you get for this bread is going to be very thick, almost like a drop biscuit batter. Don’t worry, that is good! Just make sure to grease your baking pan well, and use a spatula to get all of the batter out of the mixer and into the pan.
Once the bread is done, let it cool. Then, chop it into bite sized pieces, and let it sit out overnight to dry out a bit. If you don’t want to leave it overnight, just make sure you let it sit for a few hours at least.
The Sausage Mixture
 I like to use Italian sausage for the stuffing, but this is really your call. Remove the sausage from the casing, and saute in a skillet until browned (about 5 minutes). While sausage is cooking, try to break it up into smaller bits with a wooden spoon, so you don’t get a huge chunk of sausage in your stuffing. When the sausage has been cooked, remove it from the skillet, and put it in your stuffing baking dish. Cook the onions and celery in the sausage drippings, until translucent (10 minutes). If you used a leaner sausage, you may need to add a bit of broth to the pan, to keep everything from burning.
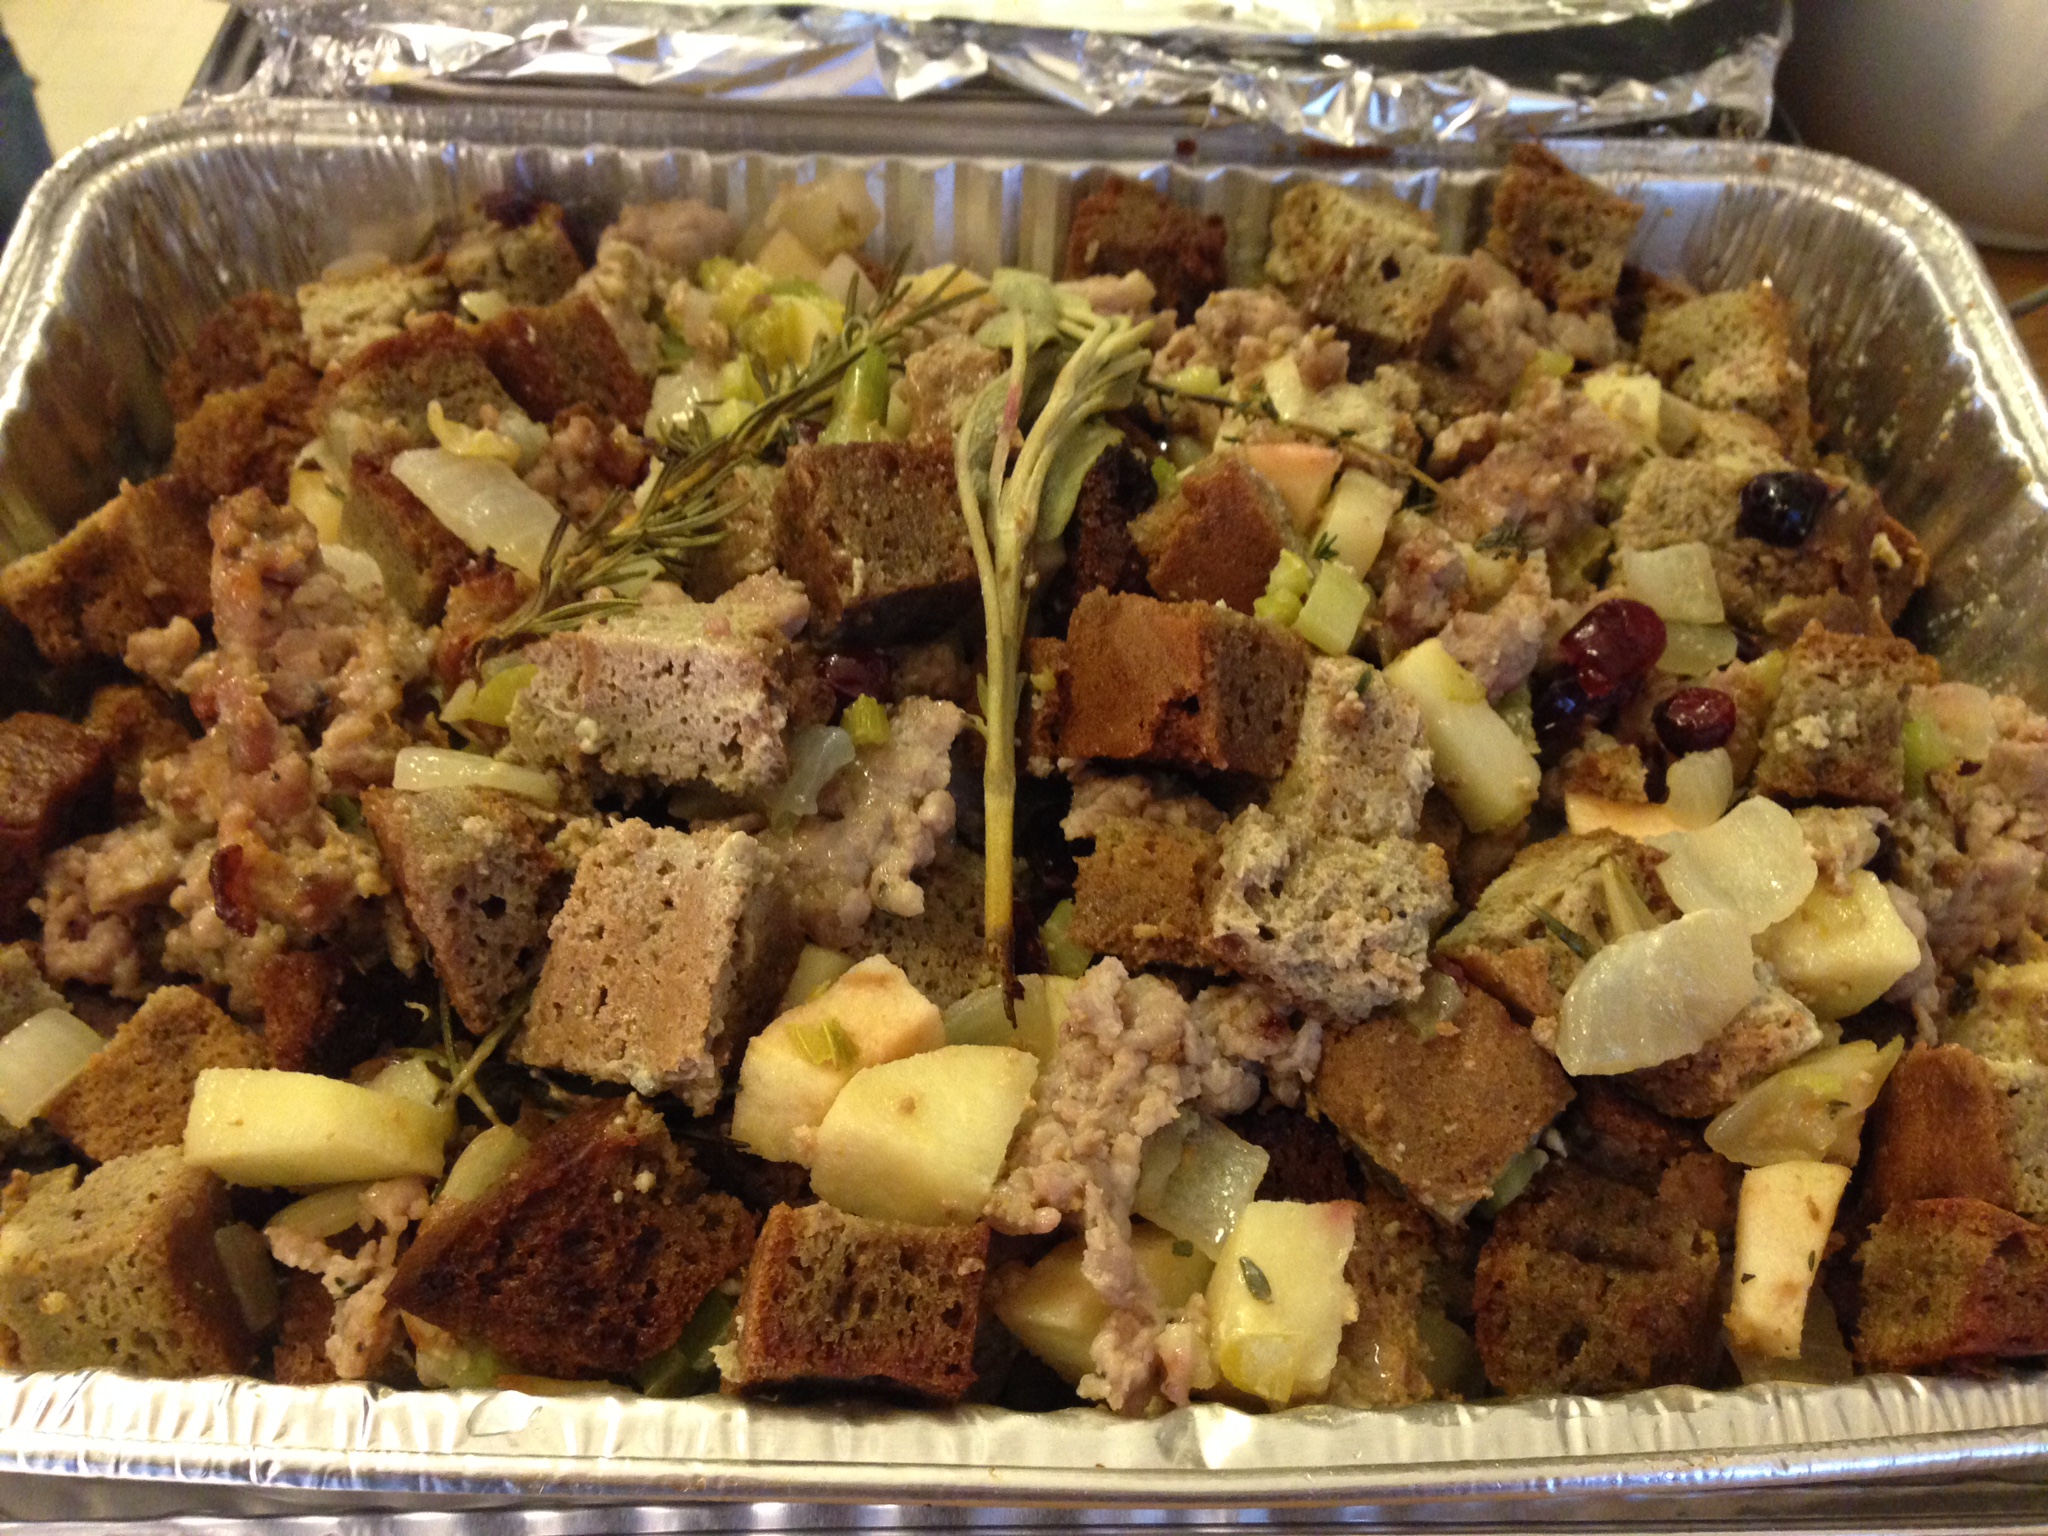
When the onions and celery are done, add to the sausage mixture. Combine the bread, chopped apples and dried cranberries (optional), tossing all together well with your hands. Season with salt and pepper, and add in the sage, a sprig of thyme, and two of rosemary (off the stems). If you are making this ahead, you can cover the baking dish and refrigerate until you are ready to put in the oven.
Final Steps
 Preheat the oven to 350 degrees. In a saucepan, bring the chicken broth to a boil with the 2 sprigs of rosemary and thyme. When broth boils, reduce to a slow simmer for about 10 minutes. Remove from heat and let cool.
Whisk together the eggs in a separate bowl. While whisking vigorously, slowly dribble in about half of the broth. The trick here is not to cook the eggs. In order to do that, you need to be constantly whisking the eggs, and only dribbling in a small, SMALL stream of the broth. Pour the egg mixture over the stuffing, and toss well. If the mixture isn’t getting mushy, you can pour remaining broth over it, but stop when bread starts to crumble. Give another good toss to make sure everything is mixed well before putting in the oven. Let stuffing bake for 30 minutes, or until the top is nicely browned. Serve immediately.
Paleo Classic Stuffing
Ingredients
For the bread
- 2 medium white sweet potatoes, steamed & peeled (you can use regular, but the texture will be less dense)
- ½ cup + 1 tablespoon olive oil
- 1/3 cup maple syrup
- 2 teaspoons salt
- 2 teaspoons vanilla extract
- 2 eggs
- 2 cups

- 1 ½ teaspoons ground cinnamon
- 1 ½ teaspoons baking soda
For the Stuffing
- 1 pound fresh pork sausage, casings removed
- 1 large onion, chopped
- 3 celery stalks, chopped (1 1/2 cups)
- Coarse salt and ground pepper
- 3 tablespoons finely chopped fresh sage
- 4 sprigs fresh rosemary
- 3 sprigs fresh thyme
- 3 large eggs, lightly beaten
- 1 cup chicken broth (or mixture of half bone broth, half water)
- 2 McIntosh apples, peeled and chopped
- ¾ cup dried cranberries (optional)
Instructions
For the Bread
- Preheat oven to 350 degrees
- In a blender, combine the eggs, maple syrup, oil, salt, and vanilla.
- Slowly add in the sweet potato until batter is thick and well blended.
- Add in the cinnamon, baking soda, and flour. Batter will get VERY thick at this point, more like dough.
- Grease a 9” cake pan, and scoop the batter in. Bake for 60 minutes, until a knife comes out clean. Let cool.
For the Stuffing
- Cut and cube bread that will be used. Set overnight, to dry (or at least several hours).
- Preheat oven to 350 degrees. In a large skillet over medium heat, cook the sausage until browned (5 minutes).
- While sausage is cooking, place chicken broth, 2 sprigs of rosemary and 2 sprigs of thyme in a large saucepan over medium heat. When liquid comes to a boil, reduce heat and keep at a low simmer.
- Take sausage from the skillet, and place in a large baking dish. Cook onions and celery in the skillet, using the sausage drippings that are left. Add a bit of broth if you need the additional liquid. Stir often with a wooden spoon, making sure to scrape up any bits that are stilling to the skillet. Cook until the onions are translucent, and celery is softened (about 10 minutes). Remove from heat, and add to the sausage.
- Remove chicken broth from heat.
- Add apples and cranberries to the sausage mixture. Season with salt and pepper, and add in the sage and remainder of thyme and rosemary (off the stems).
- Whisk together the eggs vigorously. While whisking, SLOWLY pour in ½ a cup of the chicken broth. Be very careful not to cook the eggs!!! The chicken broth should be no more than a tiny stream, and you must continuously whisk the eggs to make sure that you don’t get eggy chunks.
- Add the bread pieces to the sausage mixture, and then slowly pour the egg mixture over everything. Toss this well. Add the rest of the chicken broth slowly. If you notice bread starts to crumble too much, you can stop.
- Cook stuffing for 30 minutes, or until the top is nicely browned. Serve hot.
Notes
I like to bake the bread a day ahead, and then do the rest of the recipe on Thanksgiving. Not only does this make for less work the day of, but it also allows the bread to dry out overnight. You can even make the sausage and veggie blend a day ahead if you like. The only thing that must be done the day of is the chicken broth and egg mixture. That must be done immediately before baking, or the stuffing will turn to mush.
I like to use white sweet potatoes for this bread. They have less liquid in them, and allow the bread to bind better. you can do this with regular sweet potato, the bread will just be a bit less dense, and may crumble more.
Schema/Recipe SEO Data Markup by Yummly Rich Recipeshttps://www.urbancavewoman.com/recipes/sides/thanksgiving-stuffing/

Ingredients
- 2 medium white sweet potatoes, steamed & peeled (you can use regular, but the texture will be less dense)
- ½ cup + 1 tablespoon olive oil
- 1/3 cup maple syrup
- 2 teaspoons salt
- 2 teaspoons vanilla extract
- 2 eggs
- 2 cups
- 1 ½ teaspoons ground cinnamon
- 1 ½ teaspoons baking soda
- 1 pound fresh pork sausage, casings removed
- 1 large onion, chopped
- 3 celery stalks, chopped (1 1/2 cups)
- Coarse salt and ground pepper
- 3 tablespoons finely chopped fresh sage
- 4 sprigs fresh rosemary
- 3 sprigs fresh thyme
- 3 large eggs, lightly beaten
- 1 cup chicken broth (or mixture of half bone broth, half water)
- 2 McIntosh apples, peeled and chopped
- ¾ cup dried cranberries (optional)
Instructions
- Preheat oven to 350 degrees
- In a blender, combine the eggs, maple syrup, oil, salt, and vanilla.
- Slowly add in the sweet potato until batter is thick and well blended.
- Add in the cinnamon, baking soda, and flour. Batter will get VERY thick at this point, more like dough.
- Grease a 9” cake pan, and scoop the batter in. Bake for 60 minutes, until a knife comes out clean. Let cool.
- Cut and cube bread that will be used. Set overnight, to dry (or at least several hours).
- Preheat oven to 350 degrees. In a large skillet over medium heat, cook the sausage until browned (5 minutes).
- While sausage is cooking, place chicken broth, 2 sprigs of rosemary and 2 sprigs of thyme in a large saucepan over medium heat. When liquid comes to a boil, reduce heat and keep at a low simmer.
- Take sausage from the skillet, and place in a large baking dish. Cook onions and celery in the skillet, using the sausage drippings that are left. Add a bit of broth if you need the additional liquid. Stir often with a wooden spoon, making sure to scrape up any bits that are stilling to the skillet. Cook until the onions are translucent, and celery is softened (about 10 minutes). Remove from heat, and add to the sausage.
- Remove chicken broth from heat.
- Add apples and cranberries to the sausage mixture. Season with salt and pepper, and add in the sage and remainder of thyme and rosemary (off the stems).
- Whisk together the eggs vigorously. While whisking, SLOWLY pour in ½ a cup of the chicken broth. Be very careful not to cook the eggs!!! The chicken broth should be no more than a tiny stream, and you must continuously whisk the eggs to make sure that you don’t get eggy chunks.
- Add the bread pieces to the sausage mixture, and then slowly pour the egg mixture over everything. Toss this well. Add the rest of the chicken broth slowly. If you notice bread starts to crumble too much, you can stop.
- Cook stuffing for 30 minutes, or until the top is nicely browned. Serve hot.
Notes
I like to bake the bread a day ahead, and then do the rest of the recipe on Thanksgiving. Not only does this make for less work the day of, but it also allows the bread to dry out overnight. You can even make the sausage and veggie blend a day ahead if you like. The only thing that must be done the day of is the chicken broth and egg mixture. That must be done immediately before baking, or the stuffing will turn to mush.
I like to use white sweet potatoes for this bread. They have less liquid in them, and allow the bread to bind better. you can do this with regular sweet potato, the bread will just be a bit less dense, and may crumble more.