Skillet Shepherds Pie

Posted on December 3, 2017

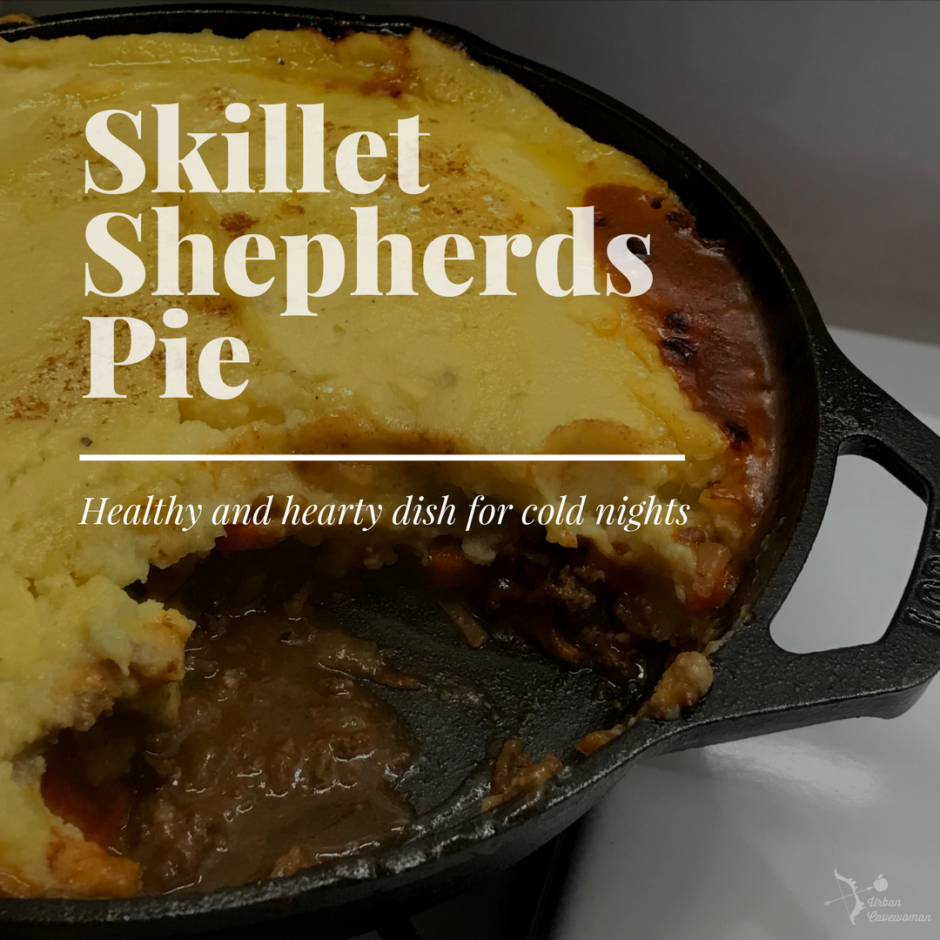
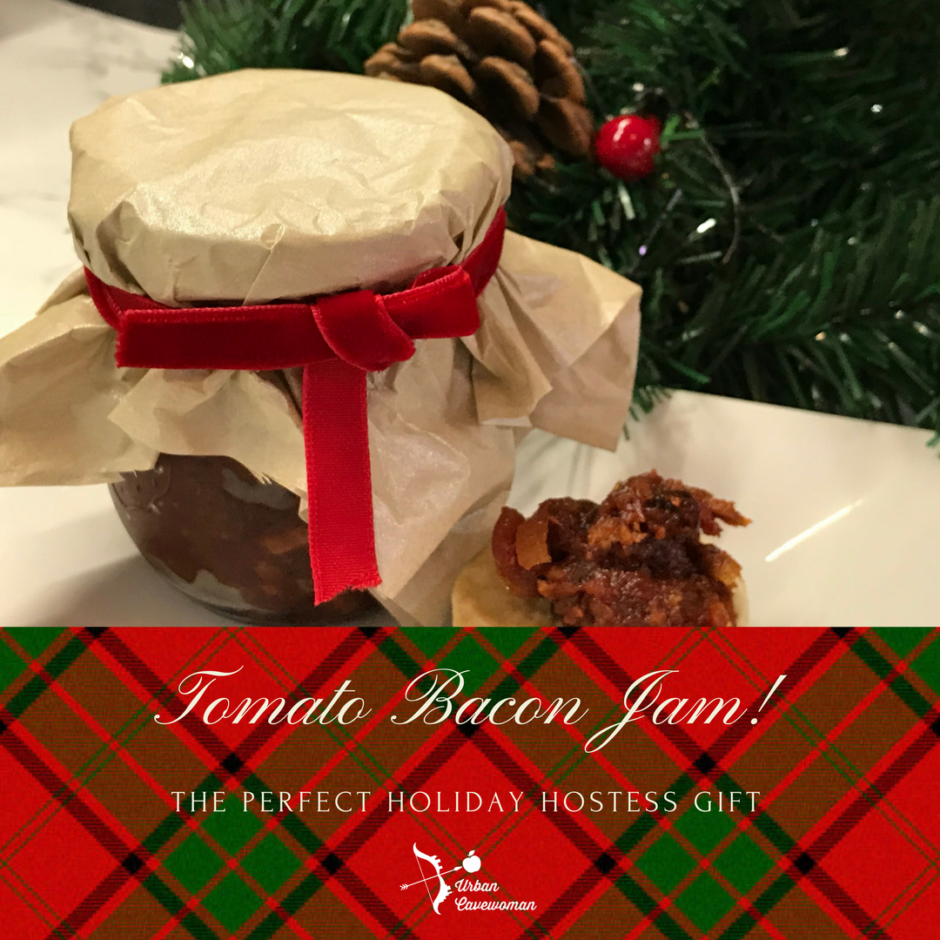
Baby it’s Cold Outside

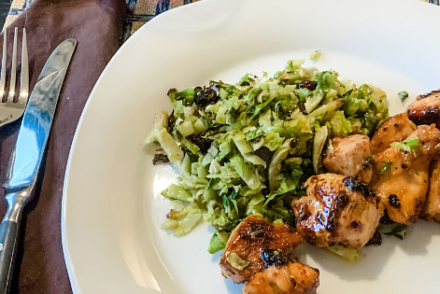
Finally! It is finally feeling like winter. Although I hate leaving work to find it is already pitch black outside, there is something comforting about the winter months. While Spring, Summer, and Fall are all about enjoying the outdoors, Winter is about curling up at home, and staying warm. One of my favorite things to do on a chilly winter night, is make a warm and hearty dinner. Whenever I start to crave a good “stick to your ribs” kind of dinner, I always turn to skillet shepherds pie. 

One of the reasons I love this recipe is that it is so easy to pull together, and requires relatively little clean up. Almost all of the cooking is done in a , which doubles as the serving dish. As simple and homey as a shepherds pie can be, it is also a great meal to pull together for guests. 

Read more

Tomato Bacon Jam

Posted on December 1, 2017

This Gift is Jamming

It’s that time of year again! Rockefeller Center has held the ceremonial tree lighting. The 25 days of Christmas, are playing on everyone’s TV, and Santa has taken up residence at Macy’s. Very soon, gift exchanges will start, and invitations for holiday party’s will start to arrive. Every year, I try to come up with a unique and homemade gift for family and friends. I have made small tins of homemade holiday cookies, or hand painted mugs with “mug cake” mix. This year, I am doing something a bit different. I’m giving out small jars of Tomato Bacon Jam.  Read more

Citrus Maple Roasted Duck

Posted on November 27, 2017

If it Looks Like a Duck, and Quacks Like a Duck…

One of my favorite things to make for dinner is a roasted duck. Doing a roasted bird for dinner is great, because it doesn’t take much active time. Unfortunately, chickens can be a bit too large to feed just the two of us, and it isn’t the most flavorful poultry. I’ve written before about the benefits of duck over chicken in terms of the nutritional profile, but I also think it tastes better. A roasted duck is also the perfect portion for two people to share for dinner, and the leftover carcass makes amazing broth

The Art of Roasting a Duck

Duck is an intimidating bird to work with. Since ducks are water birds, they have a thick layer of fat underneath their skin, to help insulate them against the cold. This fat is liquid gold when rendered down, and used to cook with, but annoying and chewy on your dinner plate. The first time I made roasted duck, I was surprised by how difficult it was to get the skin nice and crispy, and render down that subcutaneous fat. I was hoping to produce something like a Peking duck, and ended up with something like bazooka Joe. 

If you want to render down the subcutaneous fat, without over cooking the meat, you need to cook it low and slow. Most duck recipes call for several hours in the oven, at about 300 degrees. That, just doesn’t work for me. Not only is that just way too long on a weeknight to wait for dinner, but our apartment is so small, we really can’t have the oven on that long. If we roasted a duck for a few hours in our apartment, we’d need shorts and tank tops to make it bearable. This recipe can be done in an hour, and will still result in a delicious duck. There will still be a slight layer of fat beneath the skin, but it will still be succulent and juice with a crispy skin.

Prepping the Duck

The first thing I do with my duck is clean it. To do this, remove any of the gizzards and the neck from the cavity. You can keep these, and freeze them to use later for making broth. Then, using a sharp knife or kitchen shears, cut away any of the excess fat and skin around the cavity. Don’t throw this away! You can use it later to make schmaltz and gribenes. I love to crunch on the gribenes, they are a great salty snack, similar to pork rinds. 

Once you have the bird trimmed, take a healthy handful of kosher salt, and exfoliate the skin and cavity. This will remove any feather remnants, as well as acting as a quick brine. Rinse the salt off with cold water, and then place the duck on a roasting rack in a pan, breast side down. 

Flavoring the Dish

Though Duck L’Orange evokes visions of dated French restaurants from the 1970’s and 80’s, I do like the flavor combination of citrus and duck. The sweet acidity balances out the fatty gaminess of the duck. I have made roasted duck with several different marinades, but this one is still my favorite. In a pyrex measuring cup, I juice one orange, and add in 2 tbsp of maple syrup and 1/3 cup boiling water and mix well. I’ve also done this with honey, and it tastes delicious, but slightly sweeter. Either are good options. I then take the orange that has just been juiced, and stuff it in the cavity of the duck with several sprigs of rosemary. We get these gorgeous long rosemary branches from our local market, so I only use 3. If you are using smaller rosemary sprigs, I’d probably use about  6-8 sprigs. 

In the bottom of the roasting pan, I will then throw in our “sides”. Normally, I will cube 1-2 sweet potatoes, to toss in the bottom of the pan. For veggies, I like to halve brussel sprouts, or use baby carrots. These veggies are a bit firmer, so they won’t disintegrate as the duck roasts. Plus, they taste fantastic coated in a light layer of duck fat. 

The Method for this Madness

Cooking the duck is next. Since we are aiming for a shorter cook time, the oven gets cranked up to 450 degrees. I like to lower the top rack a bit before turning the oven on, so the bird won’t be too close to the top (and burn). Once the oven has reached temperature, I put about 2/3 cup of water in the bottom of the roasting dish with the veggies, and coat the duck in 1/3 of the glaze (using a basting brush). Next, place it in the oven to roast for 30 minutes. 

Roasting

After 30 minutes, carefully remove the duck from the oven. At this point you should see the skin is a nice golden brown, and very crispy. Using a sharp knife, or fork prongs, pierce the top and sides of the bird. You will see that these punctures have released a subcutaneous sea of melted fat that is now dripping down the sides of the bird. All of that rendered fat is now dripping into the bottom of your roasting pan, flavoring your veggies.

Check on your veggies, and give them a bit of a toss so they are getting evenly cooked. If the bottom of the roasting pan is looking dry, and like the veggies are burning, add in a bit more water. Don’t add too much! Water should never come close to touching the duck. Next, using tongs, carefully flip the bird, so the breast side is up. Use half of the remaining glaze, and and brush it over the top and sides of the bird. Place back in the oven for 20 minutes.

When the 20 minutes are up, remove the roasting pan from the oven again. Repeat the puncturing process to release the melted fat on the breast side of the duck, and all over the sides. Check the bottom of the pan again to see if it needs any more liquid. Give the veggies a little toss with spatula or tongs. Glaze the duck with the last of the maple citrus mixture, and put it back in the oven for another 10 minutes. 

Serving it Up

When the duck is ready, remove it from the oven, and place it on a cutting board to rest for 5 minutes. While the duck is resting, remove the veggies and potatoes from the bottom of the pan, and place them in a serving dish. 

Carve the duck, and serve immediately. If there are any juices in the bottom of the roasting pan still, you can serve as an au jus. 

Citrus Maple Roasted Duck

Citrus Maple Roasted Duck

Ingredients

  • 1 Fresh Duckling (about 5 lbs)
  • 3 stalks fresh rosemary
  • 1 Orange
  • 2 tbsp maple syrup or honey
  • Boiling water
  • Salt
  • Veggies and sweet potato

Instructions

  1. Preheat oven to 450 degrees, and move top rack down to the middle of the oven.
  2. Remove neck and gizzards from the cavity of the duck. Scrub the skin and cavity with kosher salt, and rinse well with cold water. Pat dry.
  3. Place the duck, breast side down, on a roasting rack in a roasting pan.
  4. In a small bowl or pyrex measuring cup, juice the orange, and mix in the maple syrup (or honey) and 1/3 cup of boiling water.
  5. Stuff the duck cavity with the orange rinds and rosemary.
  6. In the bottom of the roasting pan, add in veggies and sweet potato (see note). Then, add 2/3 cup of the boiling water to the base of the pan. Water should NEVER touch the duck! If the water level is rising too high, add less.
  7. Glaze the duck in 1/3 of the maple orange mixture, and roast in oven for 30 minutes.
  8. Remove duck from oven. Puncture skin on top and sides, so that rendered fat is released. Carefully flip bird over. Toss veggies in the bottom of the roasting pan, and add a bit more water if needed. Glaze the top and sides of the duck with half of the remaining maple orange mixture. Put back in oven to cook for 20 minutes.
  9. Remove duck from oven again, and repeat piercing process to release rendered fat on breasts and sides. Toss veggies. Use last of the glaze to coat top and sides of the bird, return to oven for 10 minutes.
  10. Take duck from oven, and place on a cutting board to rest for 5 minutes before carving. Toss veggies in the base of the pan, and scoop into serving dish. Serve duck hot, with the roasted potatoes and veggies, and use any drippings still in the bottom of the roasting pan as an au jus.

Notes

Given the amount of liquid and cook time for this recipe, it is best to use firm veggies. I will typically cube 1-2 sweet potatoes, and then throw in either 1-cups of carrots, or brussel sprouts. If you decide on brussel sprouts, cut them in half before roasting.

Schema/Recipe SEO Data Markup by Yummly Rich Recipes
https://www.urbancavewoman.com/recipes/entrees/citrus-maple-roasted-duck/


Paleo Protein Bagels {Gluten Free, Grain Free, Dairy Free, Nut Free}

Posted on November 25, 2017

Baby Wants Bagels!

Lately, all baby has wanted are bagels. My pre-pregnancy breakfast only consisted of a large butter coffee, and that would last me until lunch. Now, if I don’t eat something substantive by 10 am, I get cranky and pukey. Pregnancy has also drained me of most energy. Instead of baking my own paleo bagels, I opted for the frozen gluten free variety. I am very pleased that since hitting week 20, my energy has mostly returned. I’m finally feeling somewhat I like myself again, and able to get back in the kitchen. 

An Imperfect Circle

I’ve actually been making these bagels for a while, but never posted the recipe. The main reason I’ve kept it off the blog, is I didn’t know if the recipe was ready. These bagels toast up great, and really are filling. What they lack is that classic bagel taste and texture. As a native New Yorker, I have a very high bar for what I would call a “bagel”. Ultimately, though not a perfect replica, these really do hit the spot. 

There are a few things to note about this recipe, that I’m still trying to fix. The first is that they are a bit more eggy tasting than a traditional bagel. I don’t mind it, but it does impact the “authenticity” of this recipe. The other thing that I am trying to figure out how to eliminate is the color. The bagels are great when first baked (see the photo). However, if you refrigerate or freeze them, they will take on a green color. The greenish tinge comes when the chlorophyll in the sunflower seeds, reacts with baking soda/ baking powder. I’ve tried adjusting the ratio of the baking soda in this recipe, but it didn’t work as well. 

Pulling it All Together

In spite of this recipe’s imperfections, I still enjoy these bagels. In addition to filling my need for a toasted baked good in the morning, I love the health benefits this recipe packs. Sunflower seeds are packed with several nutrients that are great for overall health, and particularly beneficial during pregnancy. First of all, sunflower seeds are loaded with folic acid! Increasing the amount of folic acid you ingest during pregnancy is an important way of preventing several types of birth defects. In fact, my doctor always encouraged taking folic acid supplements as soon as you even consider getting pregnant. In addition to folic acid, sunflower seeds are a great source of vitamin E, phosphorous and magnesium. These are all key nutrients to promoting good cardio vascular health, especially during pregnancy. Finally, sunflower seeds contain a multitude of phytochemicals that help boost immunity. 

Pumpkin seed are another great addition to your diet when pregnant. One cup of pumpkin seeds contains half of your recommended iron intake for the day. They also contain vitamin B, Omega 3’s and zinc – all of which are important during pregnancy. The chia seeds in these bagels are also a great source of omega 3’s, as well as protein. In fact, these bagels are truly packed with protein! The 
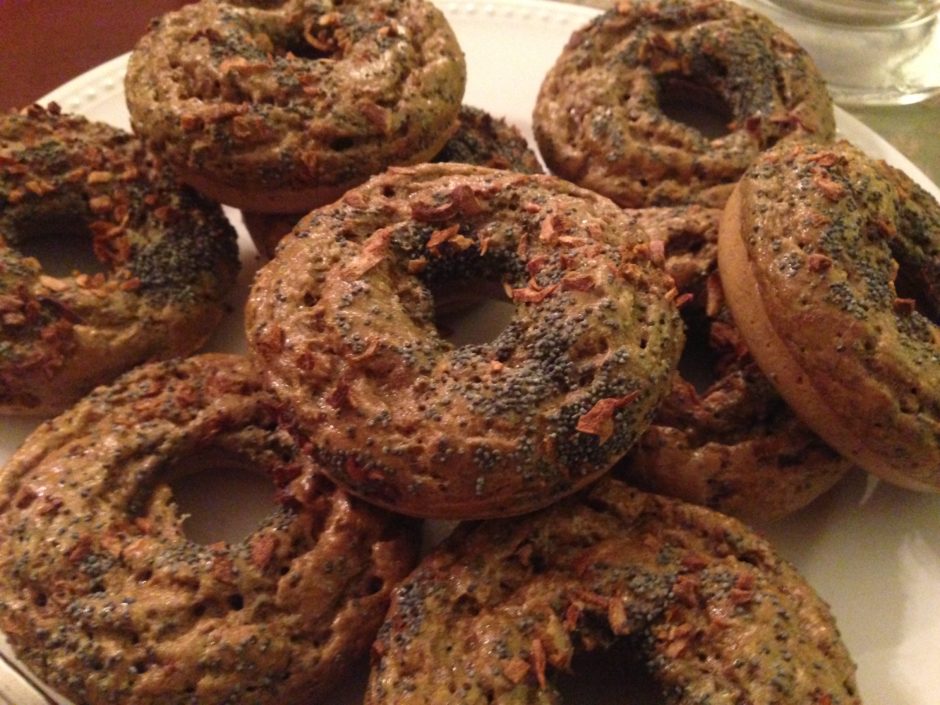
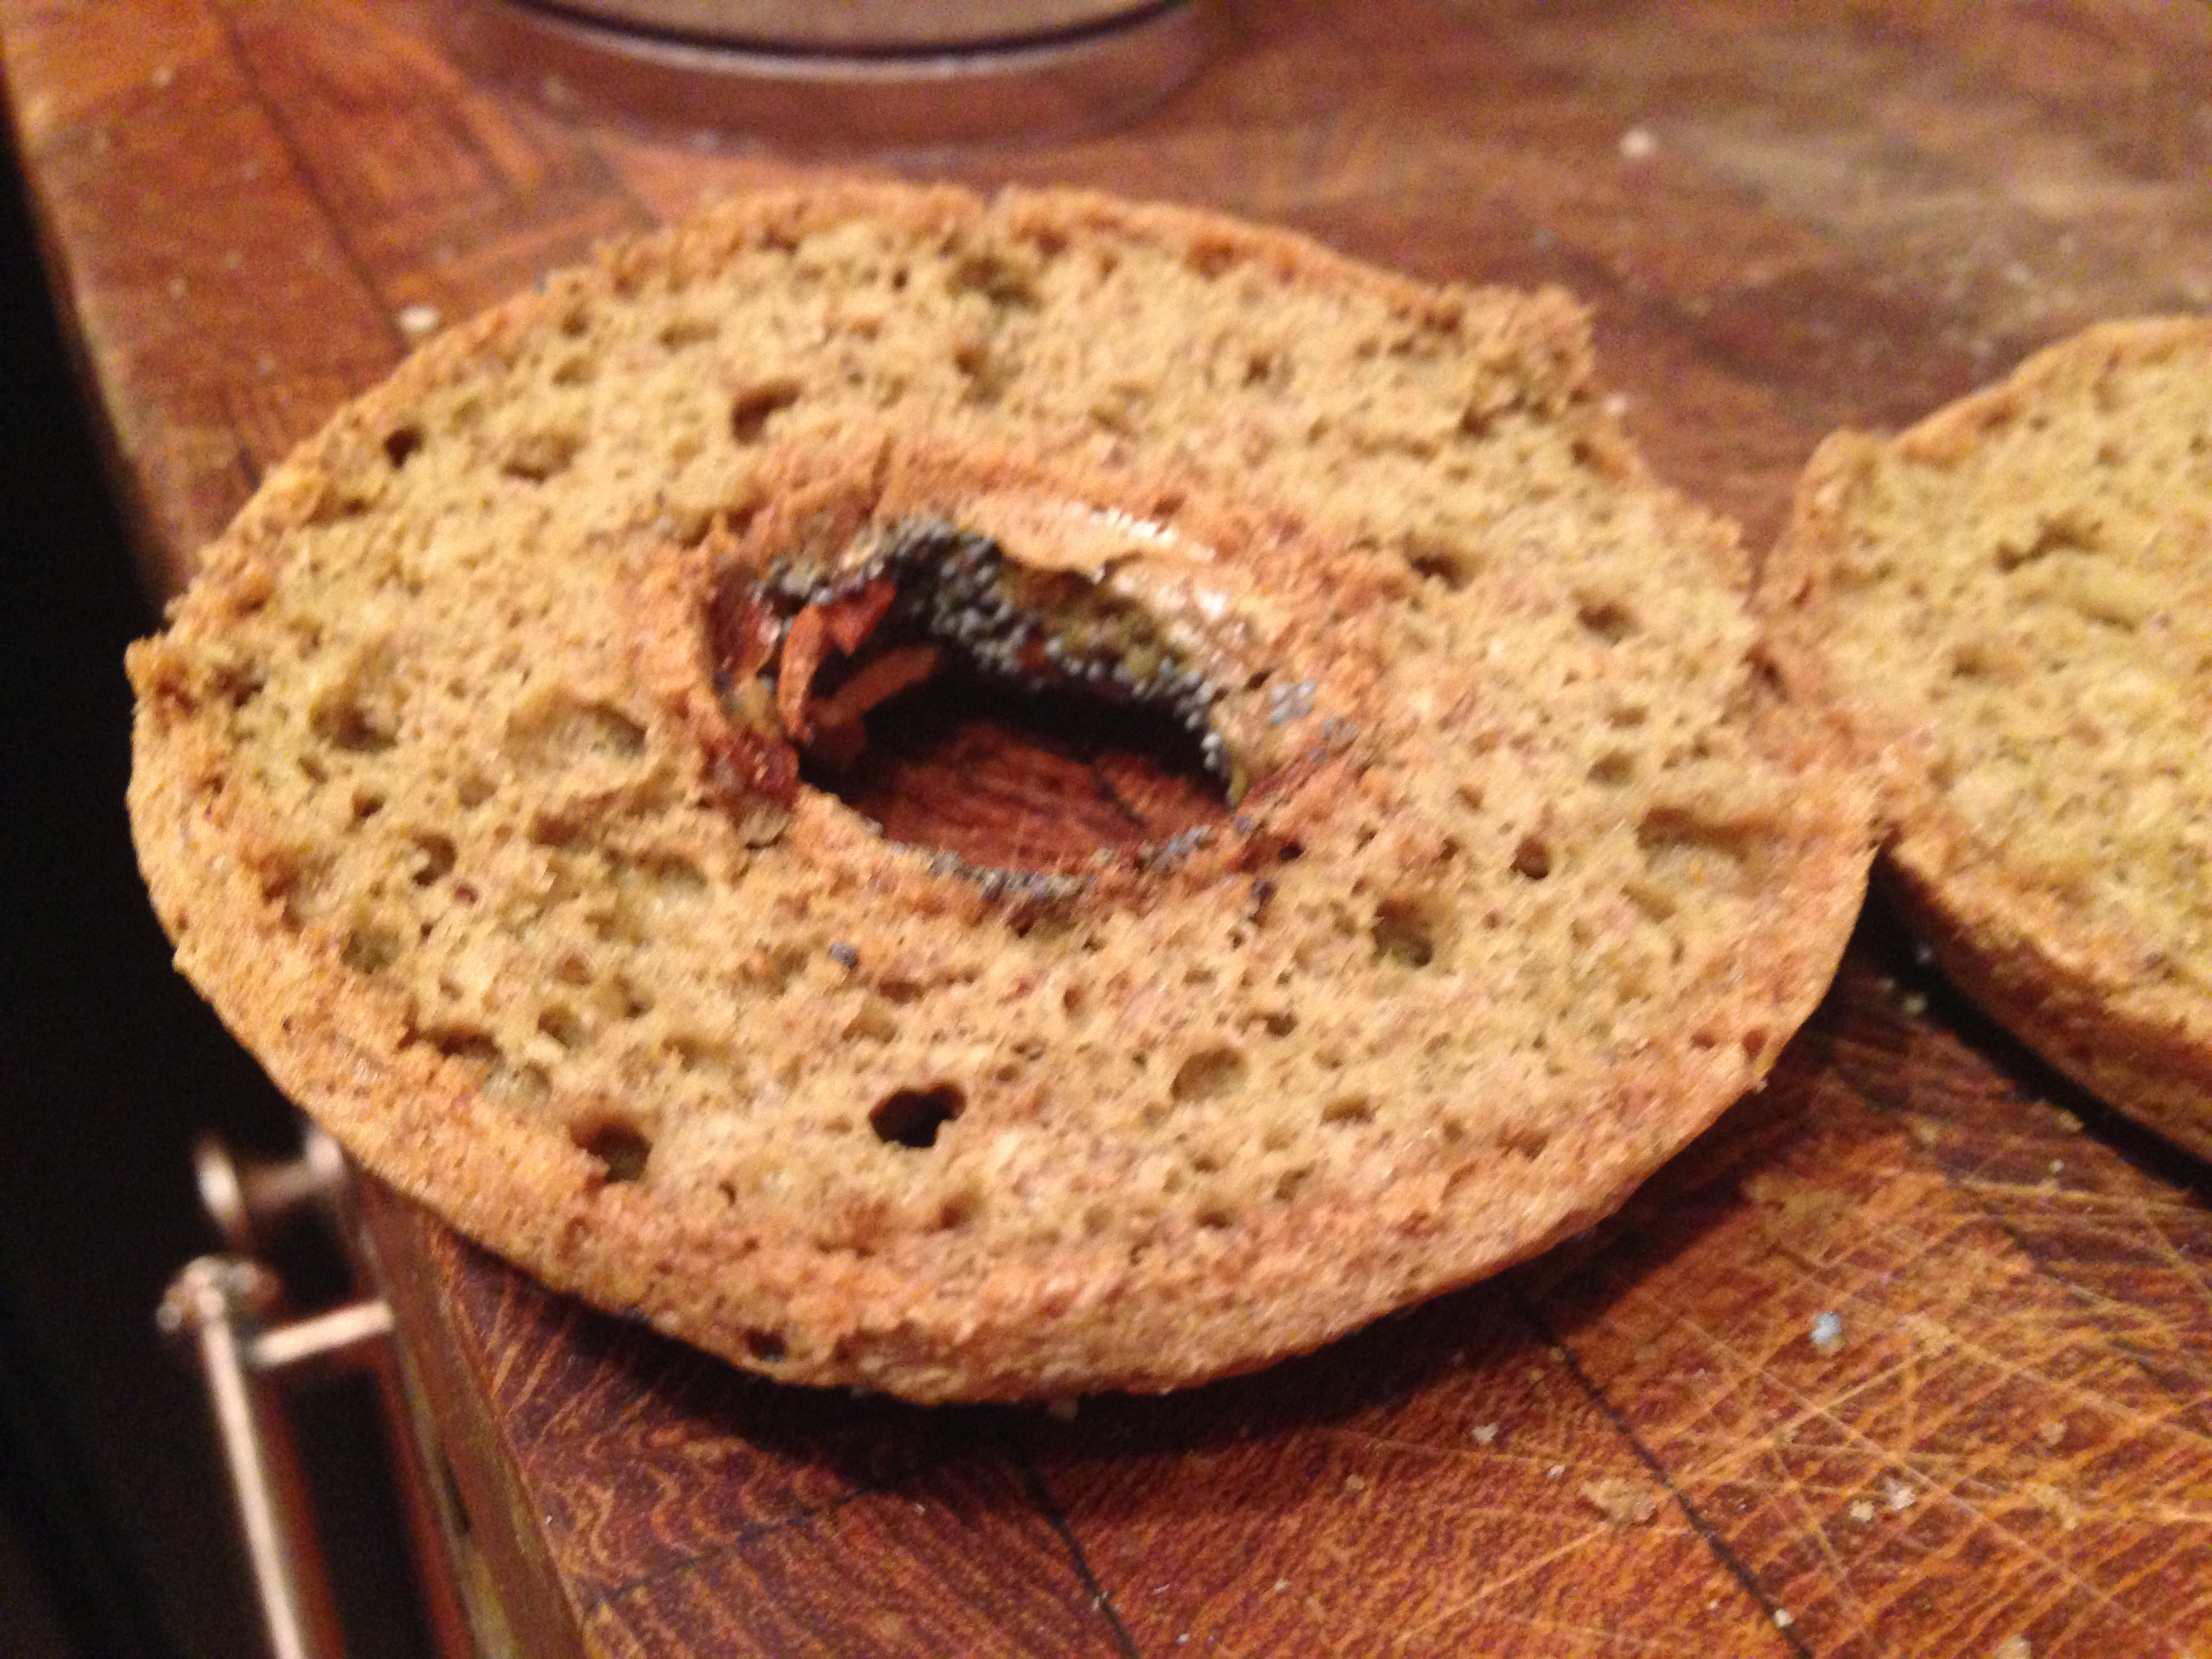
I use has 8 g of protein, 6 g carbs, and 5 g of fiber per ounce. Though baked goods are not Whole30, these are probably some of the healthiest bagel options you can find. 

I want to stress, that I am not a medical professional. During pregnancy I have been very careful about discussing my dietary needs with my doctors. This is just based off of my research and experience. Pregnancy is not the time to play around, so always consult with your own medical team about any dietary changes, needs, or advice. What works and has been right for me, may not be true for you.

What you Need

To make these bagels, you will need some specialty ingredients and equipment. First, the flours. I’ve written bout pumpkin seed meal in baking before, but the best producer of seed meals is Gerbs. No question. They are more expensive than other brands, but it is worth it. I also add in , to help bind the dough together. You can use any chia seed meal for this, but Gerbs makes a great product. Finally, I use cassava flour. This helps thicken everything up. There are some great cassava flours out there, but I am a loyalist to . They have the most consistent and high quality product, by far. 

The batter for these bagels is not going to runny. To get them to hold shape, I bought these . They are non-stick, and come in a two pack – so they are perfect for this recipe. I’ve also used these for making my paleo donuts, and they are great. You will still need to grease the pans, but they are a really great optoin to have in your arsenal. If you don’t want to buy a specialty pan, you can always make these in muffin tins. 


Paleo Bagels

Yield: 12 small bagels

Paleo Bagels

Ingredients

Instructions

  1. Pre-Heat the oven to 350° and grease a doughnut pan with Palm Shortening.
  2. Sift out the Sunflower & Pumpkin seed flour into a large mixing bowl. Any of the seed’s left in the strainer should be set aside and reserved for later. Mix in the chia seed flour, cassava flour, baking soda, and salt.
  3. Mix in the egg yolks and cider vinegar - incorporating fully.
  4. In a medium bowl, whip the egg whites until they form stiff peaks. Gently fold the egg whites into the rest of the batter.
  5. Mix together poppy seeds, dried shallots, rock salt, and any of the leftover seeds from when you sifted the flour. This will be your everything “topping”.
  6. Place batter in a pastry bag or ziplock bag with a corner cut off, and pipe into the doughnut pan. Sprinkle the top of each bagel with the topping mixture.
  7. Bake for 20 minutes (or until bagels are brown, and firm on top). Let cool.
  8. Makes 12 small bagels.

Notes

You can buy everything bagel spice blends if you like. Since my husband is allergic to sesame seeds, we tend to make our own.

Schema/Recipe SEO Data Markup by Yummly Rich Recipes
https://www.urbancavewoman.com/recipes/breads/paleo-bagels/

Back to top